Didn’t want to take scooter to dealer and wait around to just do the initial 600mi/1000km hub oil change, so did it myself. I managed to find an Electric service manual on the Internet, I got is here. Gotta say the Vespa documentation is not very good. To change the hub oil they suggest removing the rear wheel, nut size (24mm) is not anywhere in the manual, nor is the volume of oil required (I put in about 275ml).
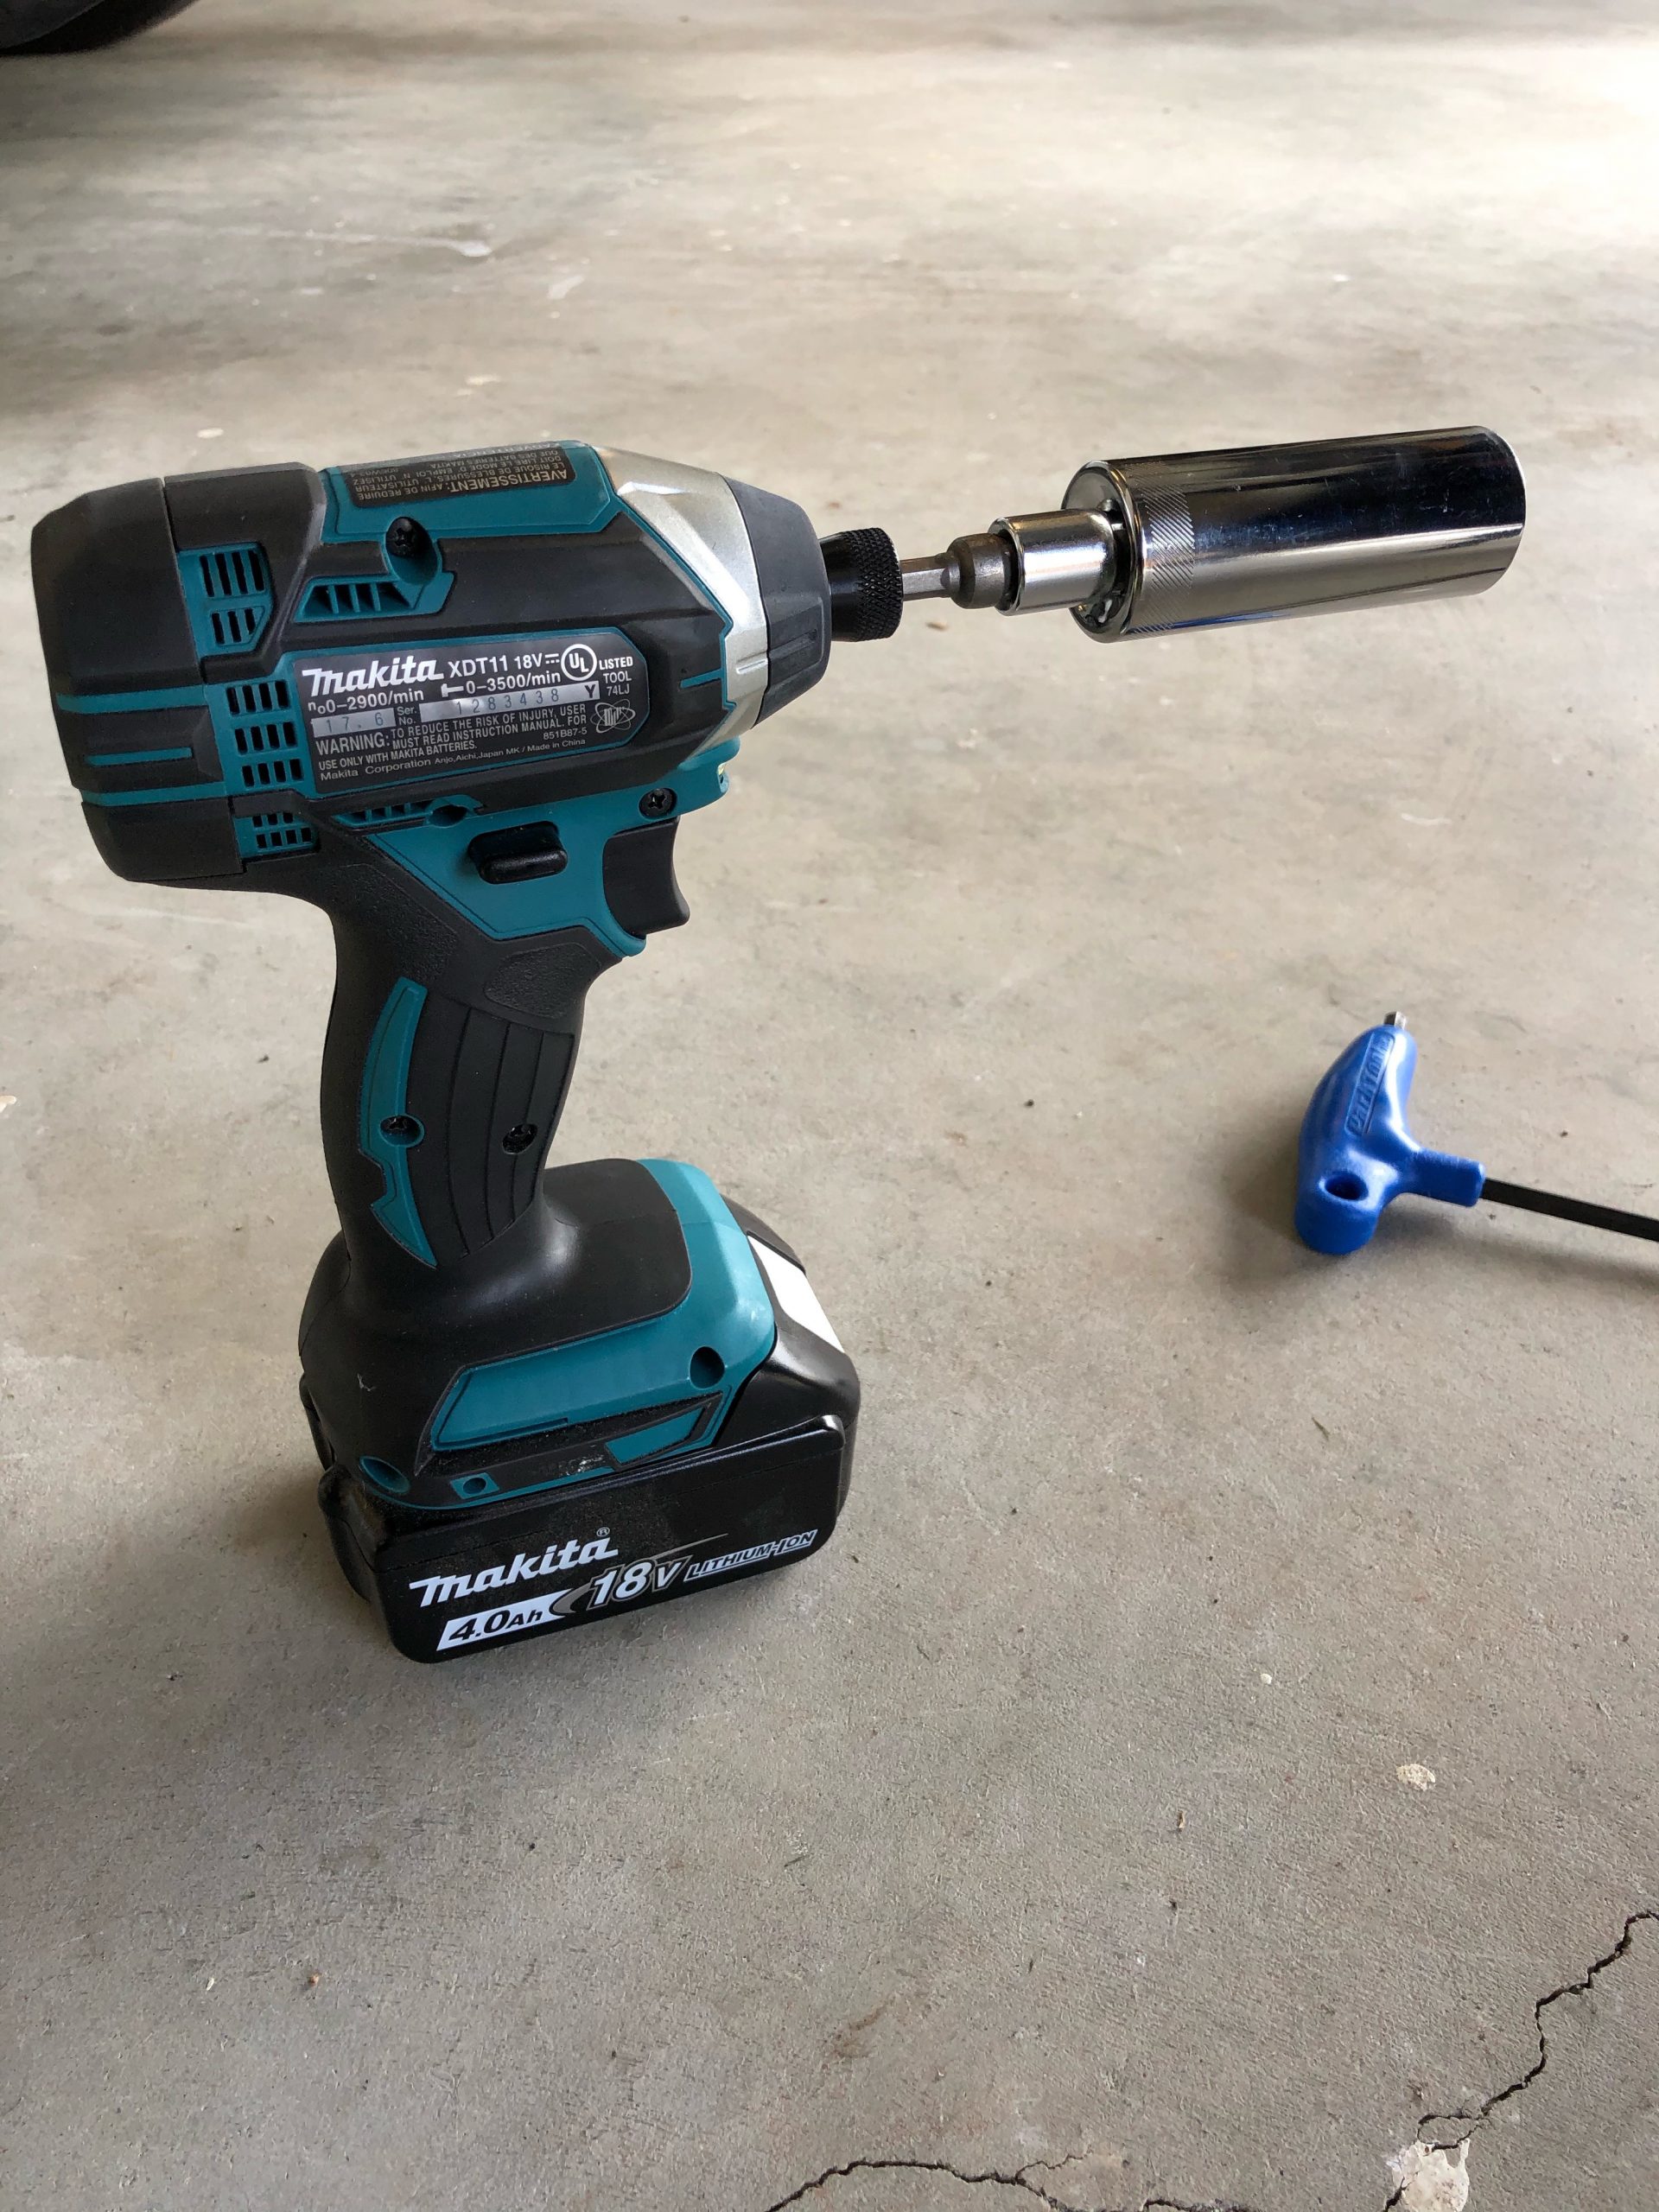
To get the rear wheel off pop off the cap, and remove the cotter pin and the cover that is over the nut. To get the nut off you need to hold the wheel, I started off jamming something through the spokes, but the nut was on VERY tightly and it was not so easy to hold the wheel like this. I don’t have an air impact wrench, but I do have a Makita impact tool, so I used that while holding the rear brake lever tightly, that worked, the nut eventually came off. The rear wheel has the “drum” of the brake built in to it, so there is some brake dust.
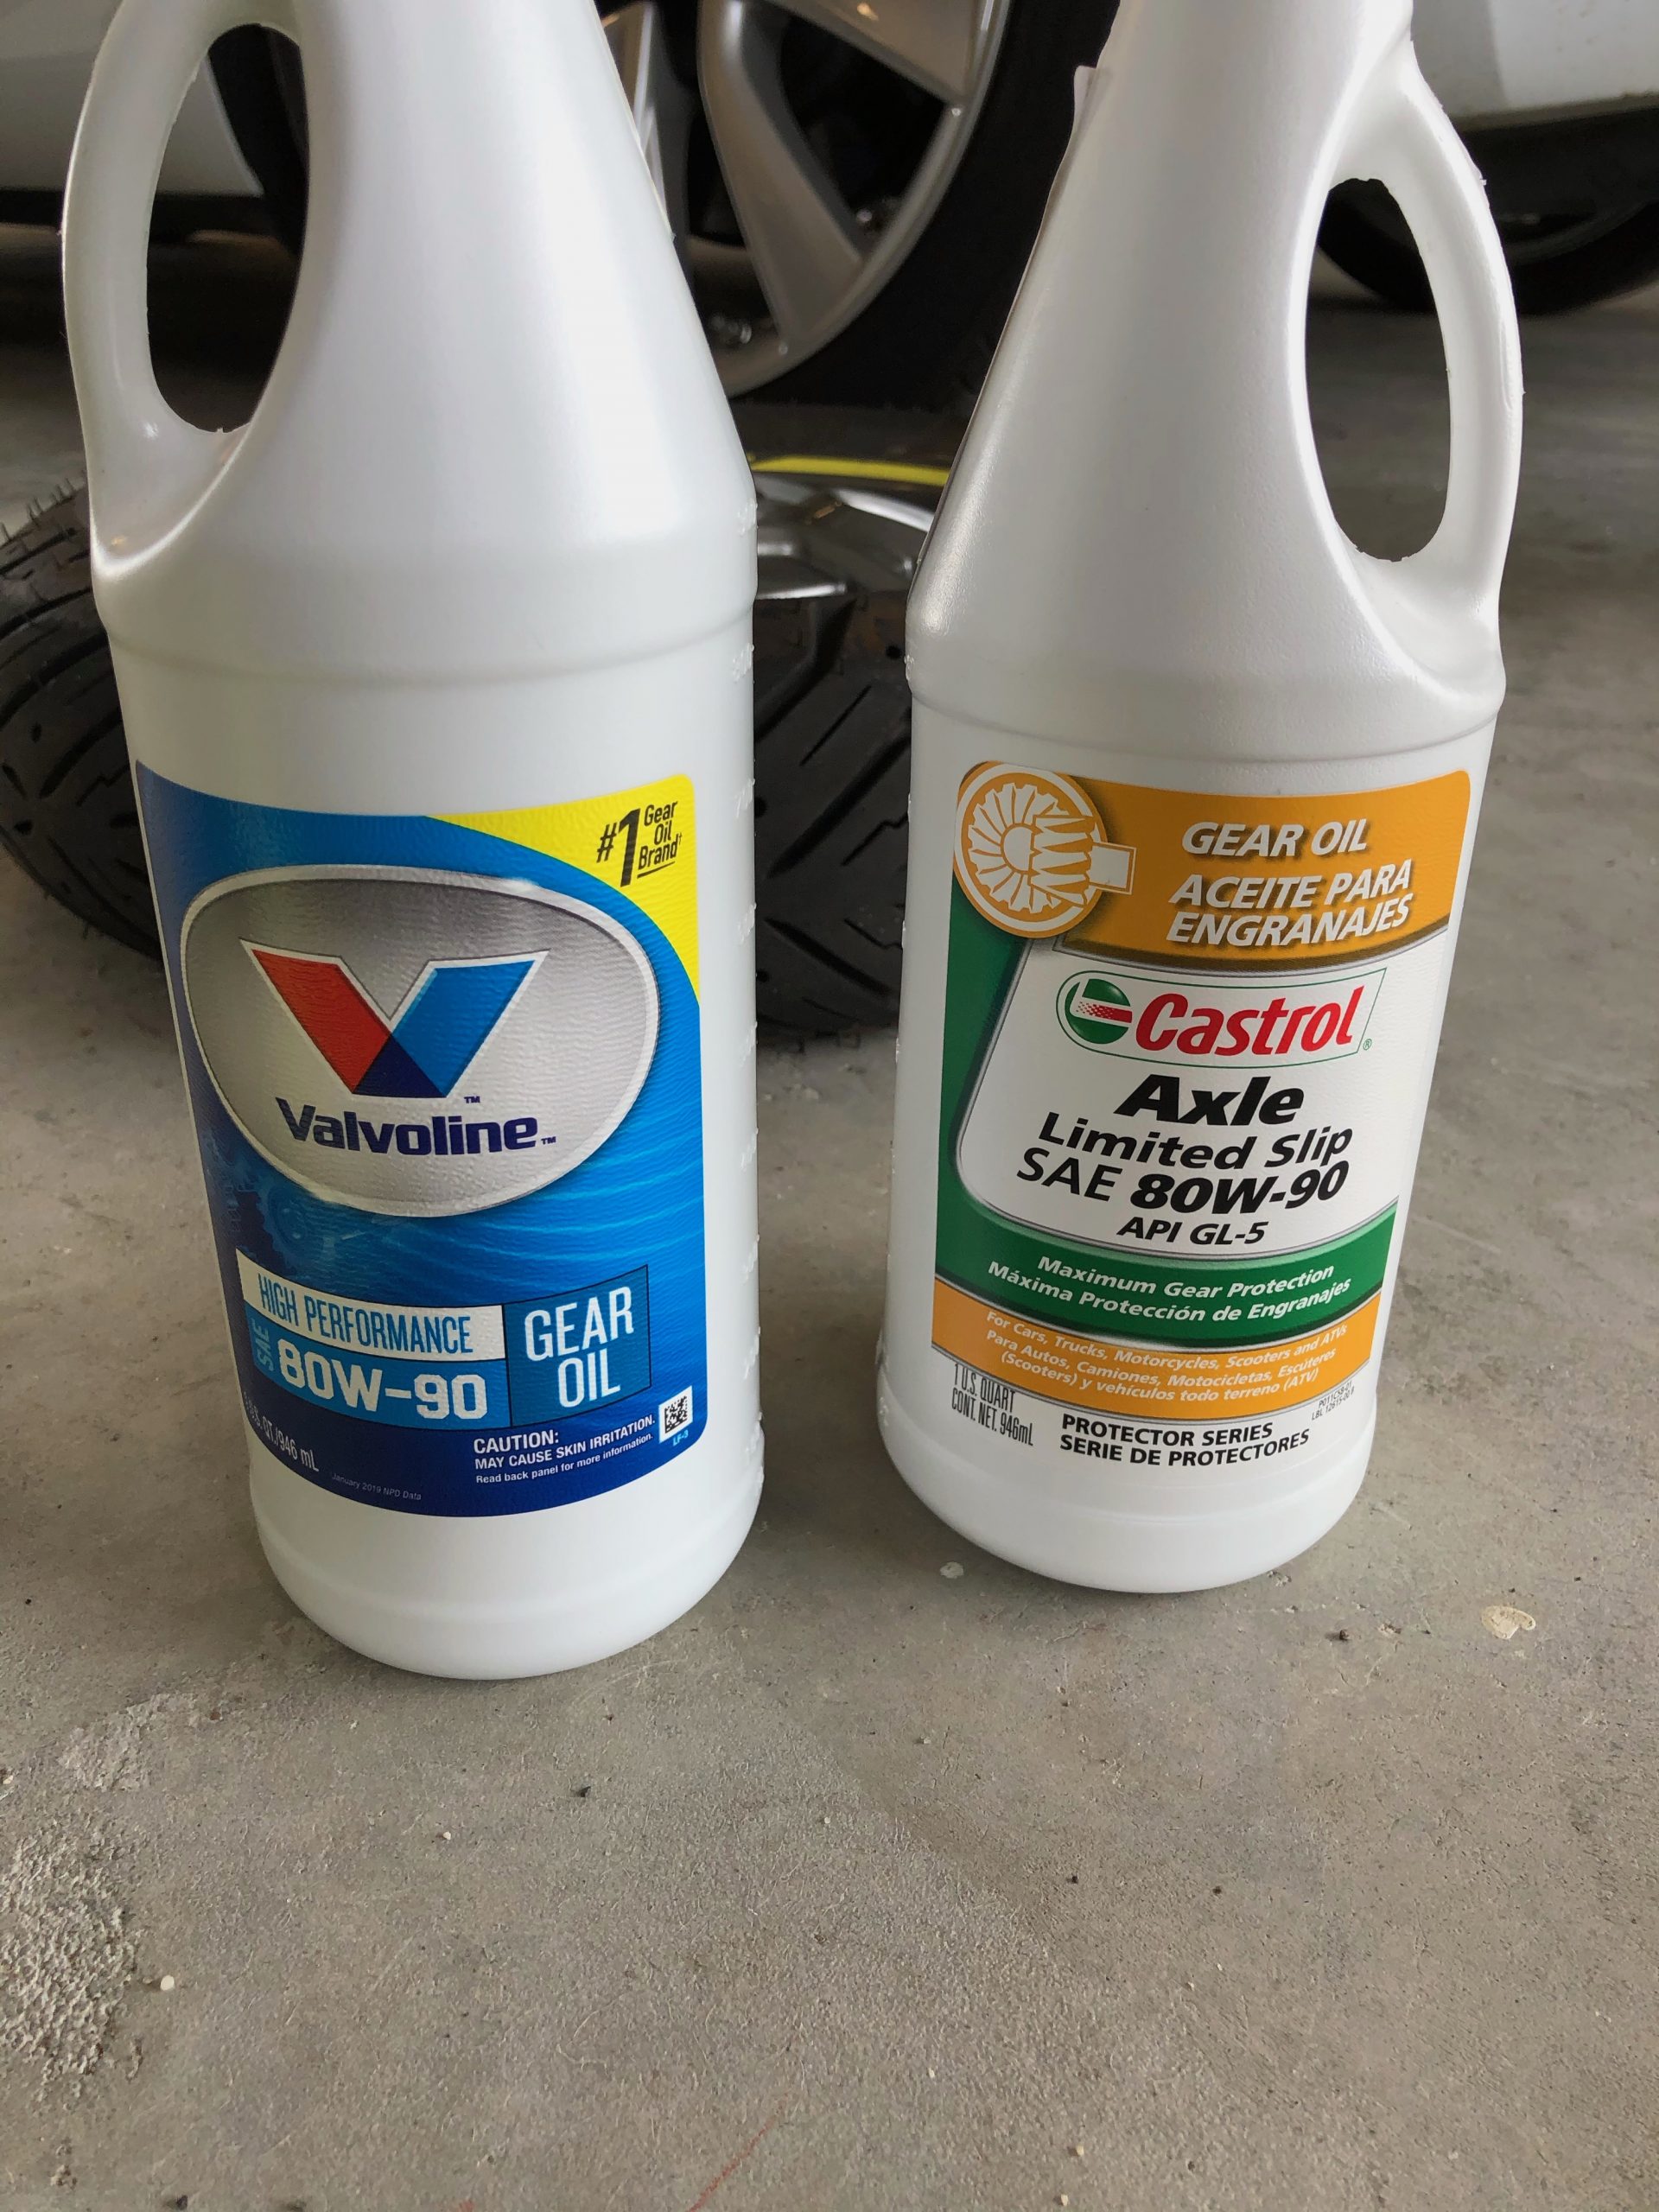
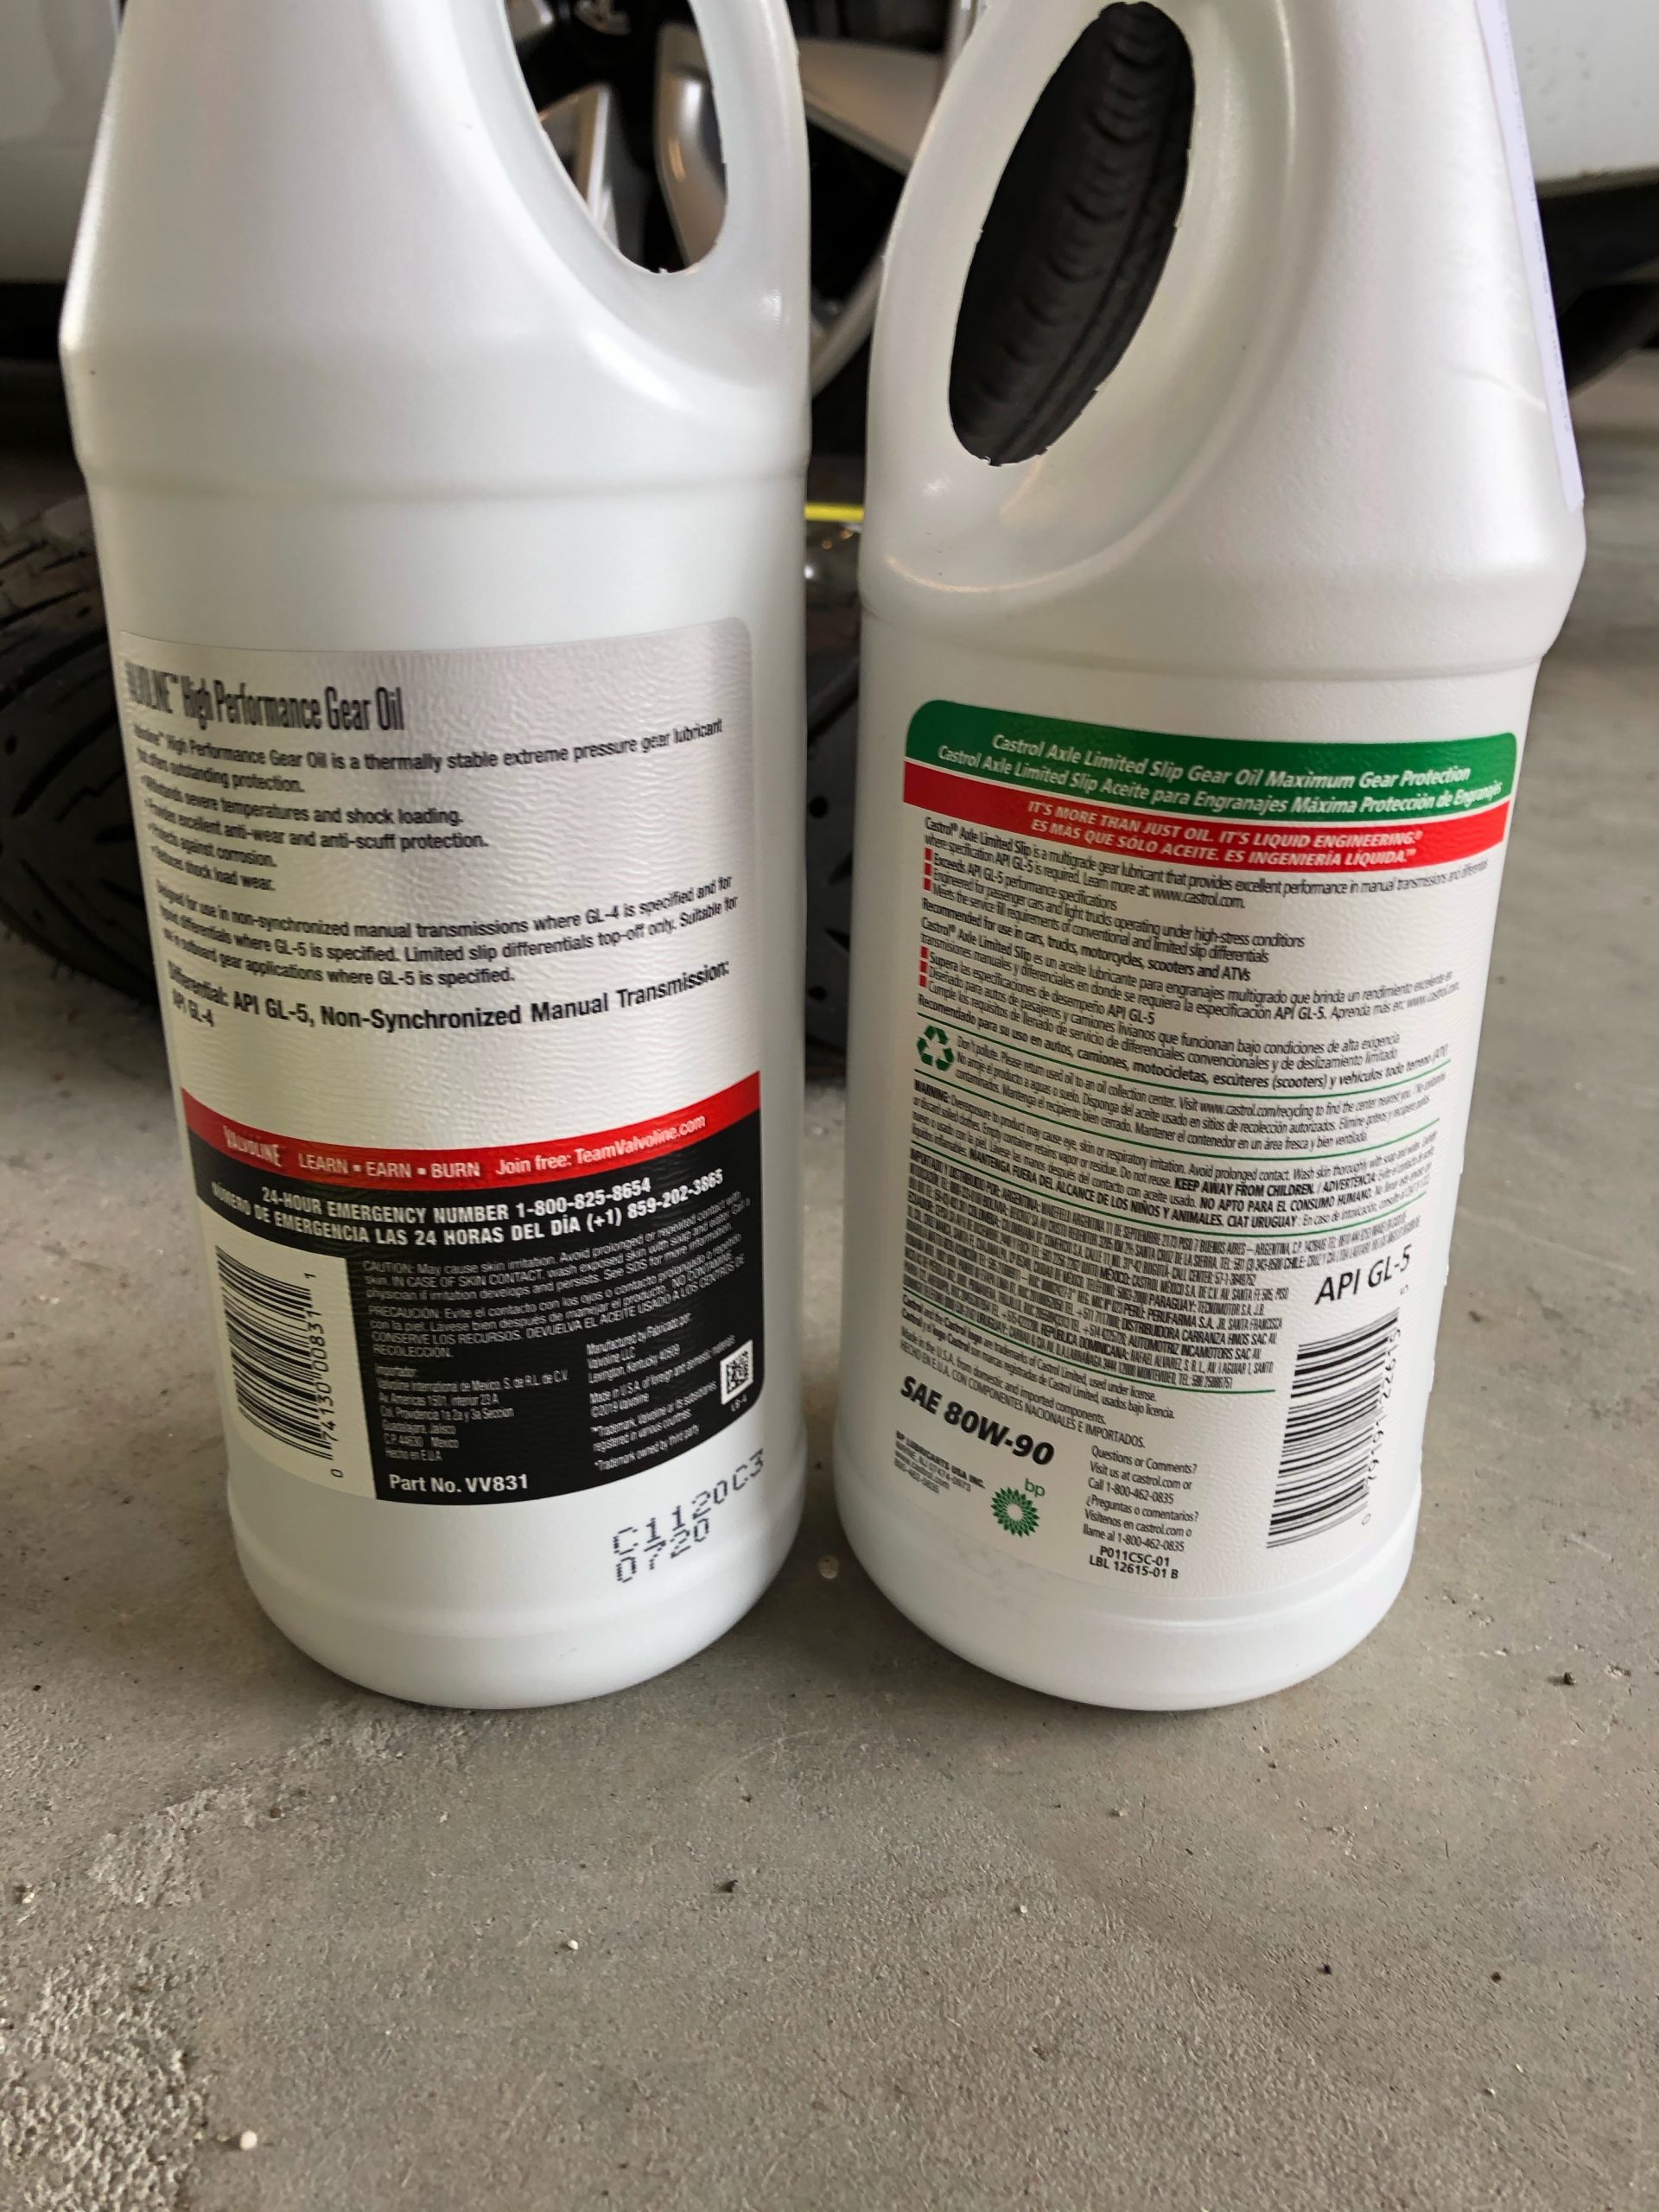
The service manual calls for 80W-90 GL-4 for the hub oil, and recommends Castol products. I ordered some 80W-90 Castrol gear oil, but it was GL-5. Probably would have been fine, but since the Castrol jug did not say it was OK for GL-4 I used a jug of Valvoline that did say it was OK for applications calling for GL-4 (and GL-5).
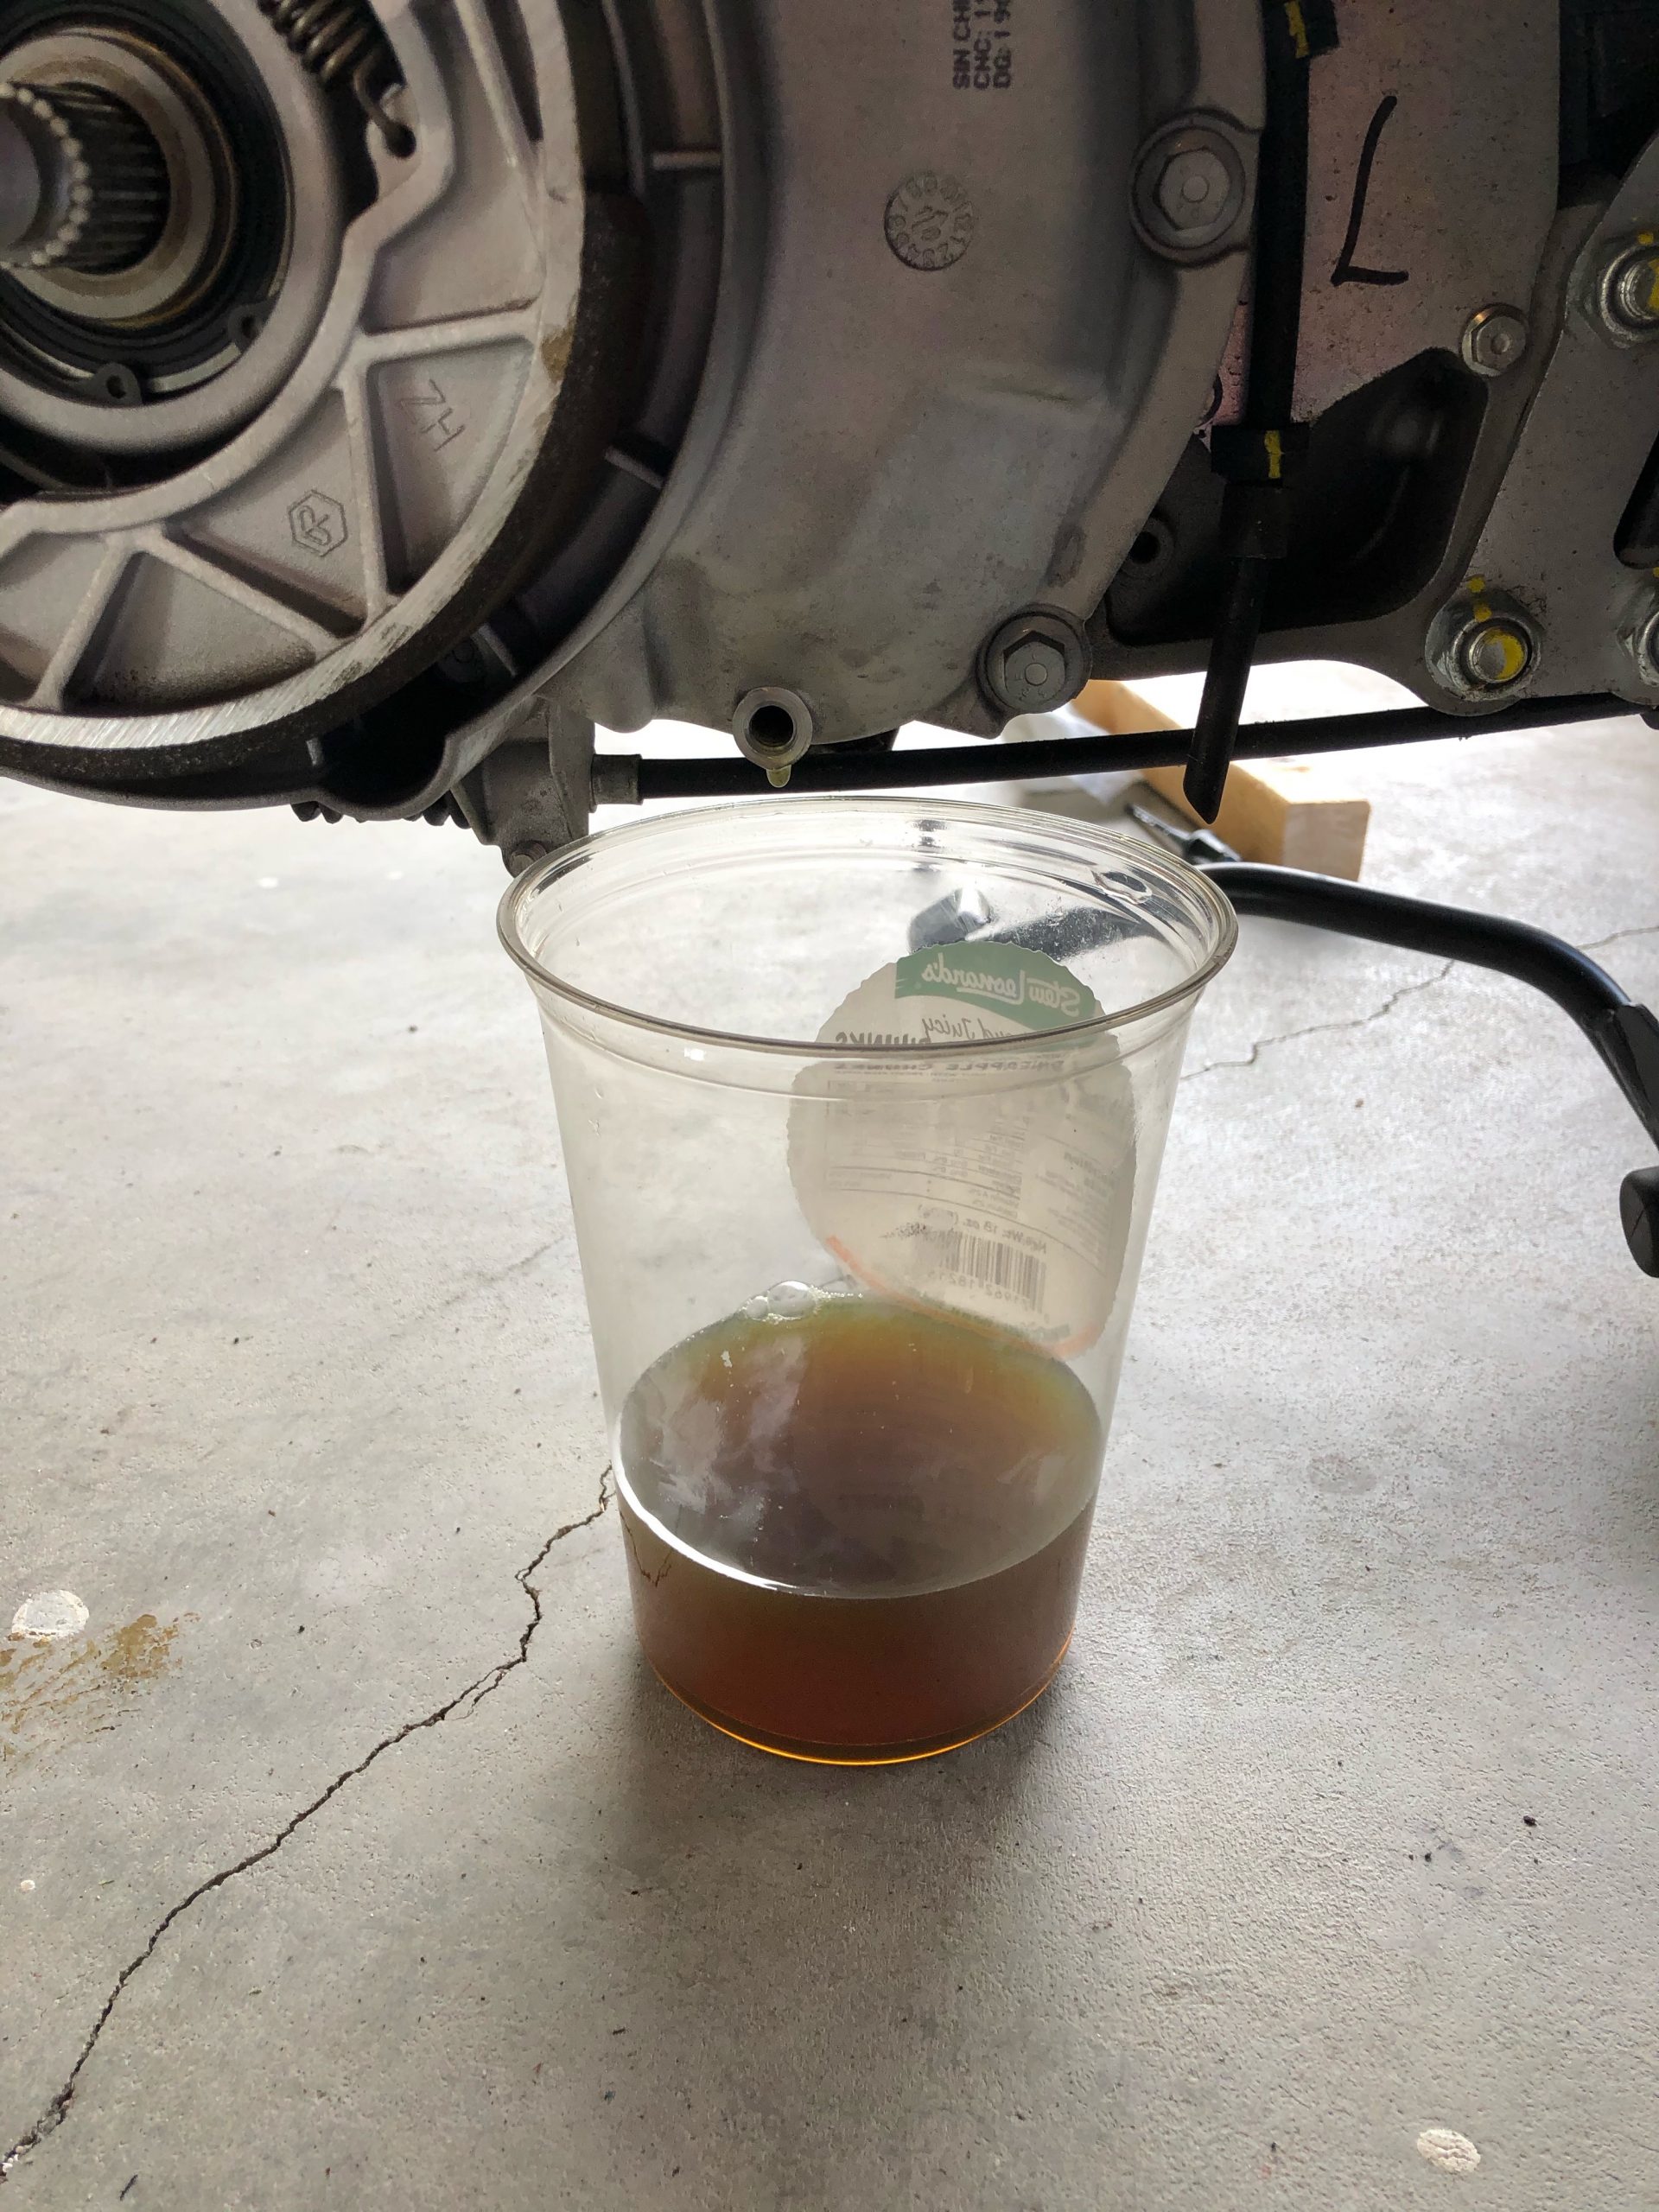
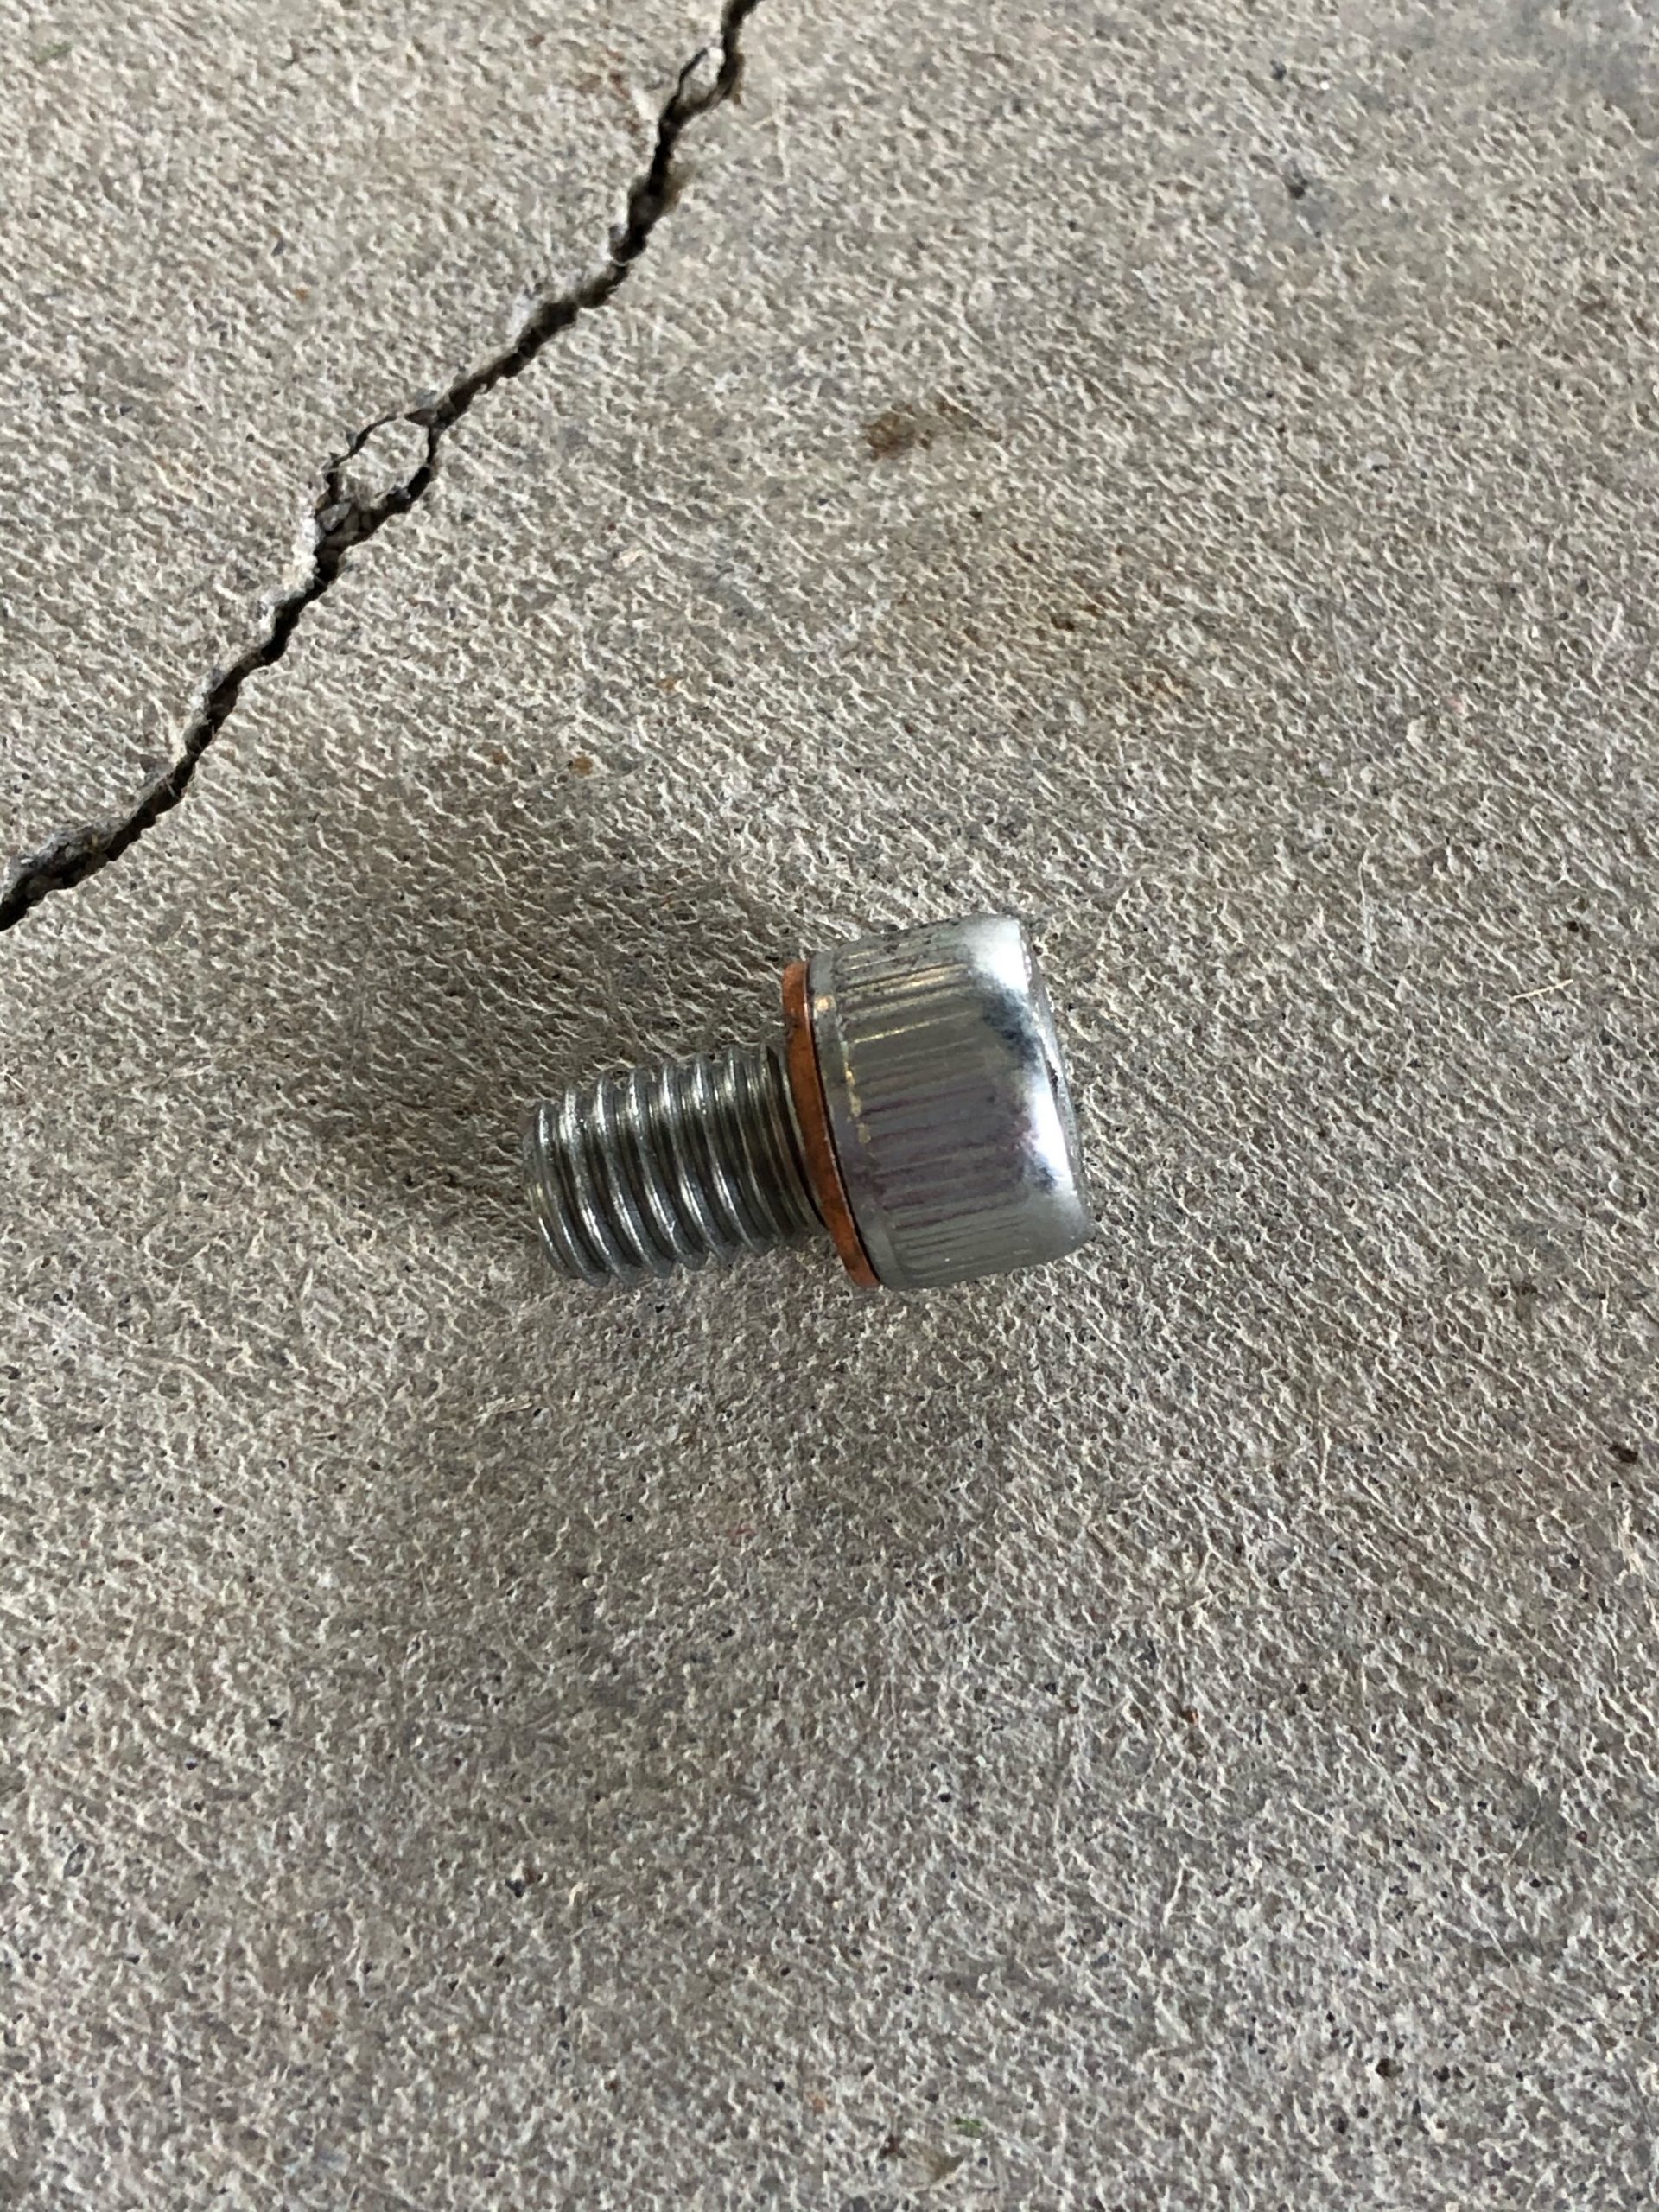
The oil drain bolt did have a crush washer on it, I normally prefer not to reuse crush washers, but none of the Vespa documentation mentions the crush washer, never mind provide a part number that would probably not be available anyway …
Per above, the hub took about 275mm of oil to bring it up to the first mark on the dipstick.
Question: Do you really need to remove the wheel? Can’t you just build a “dam” to protect the tire and wheel when you drain it?
Quite possibly you could do that. But the manual says to take it off which is not hard if you have an impact tool (harder if you just have a socket wrench).