Audi B7 S4 Valve Cover Gasket Replacement – Part 2

Tackled the passenger side valve cover today, here are the few things I would add to Joey’s excellent DIY.

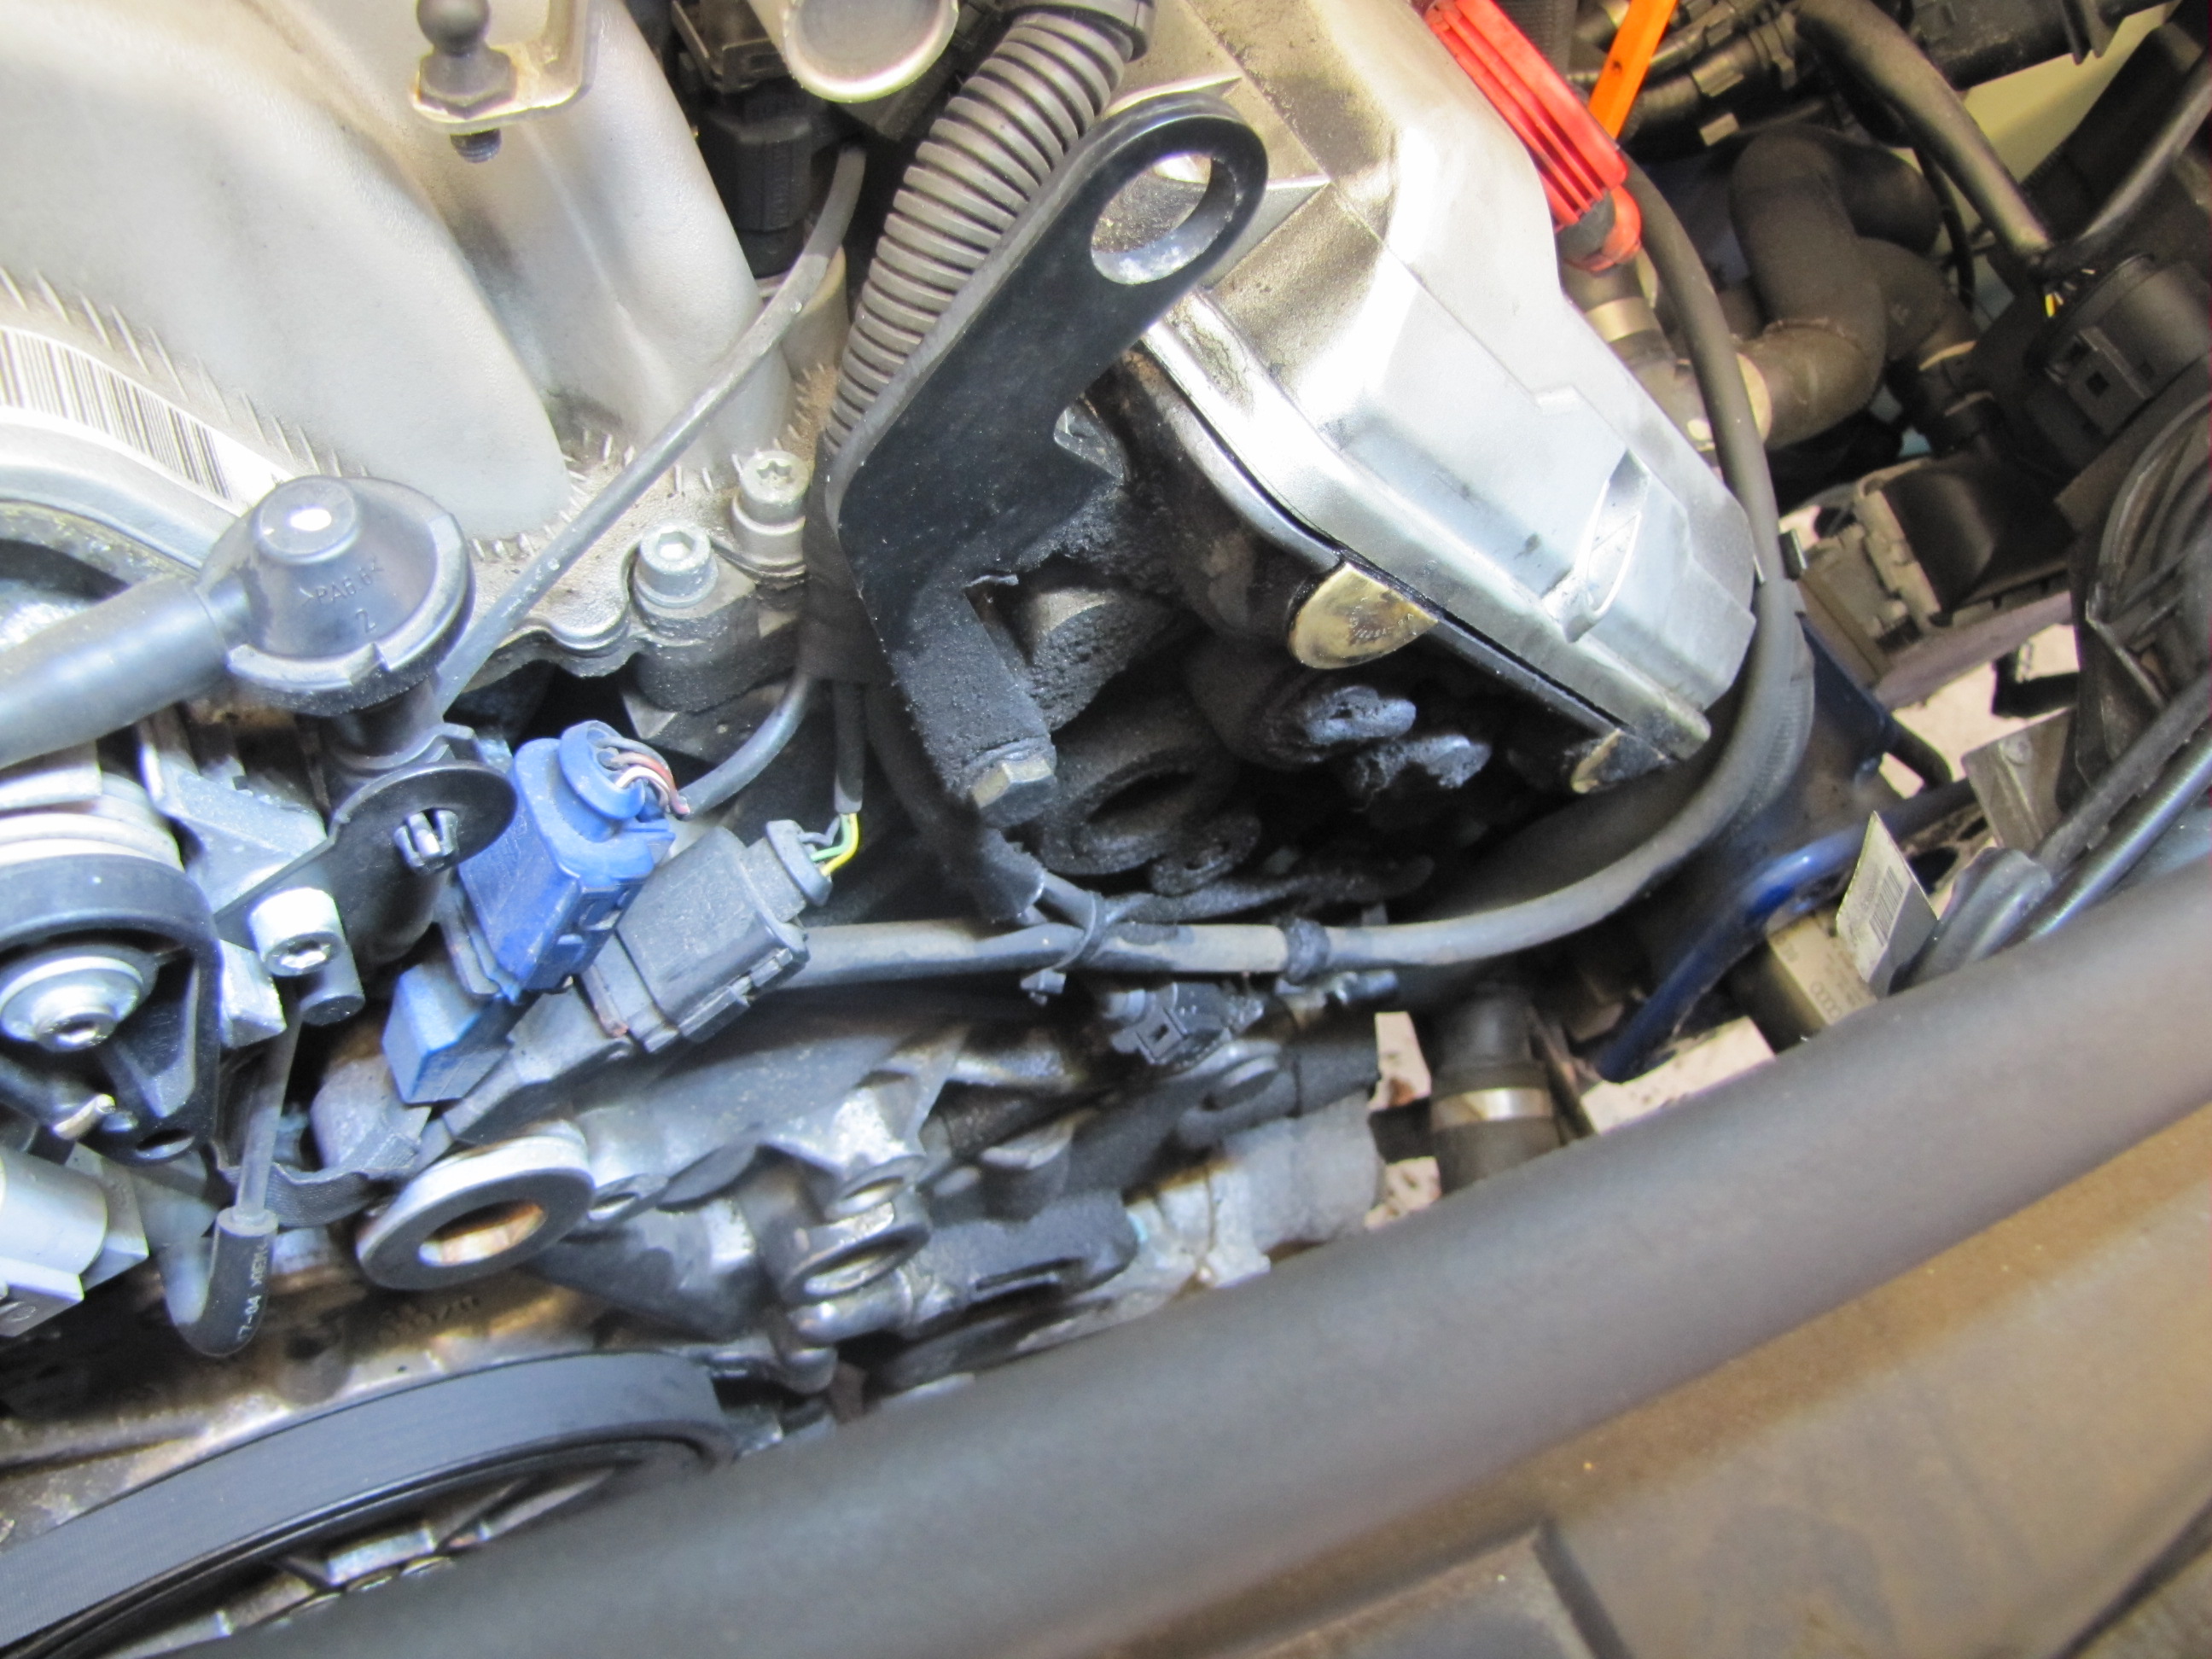
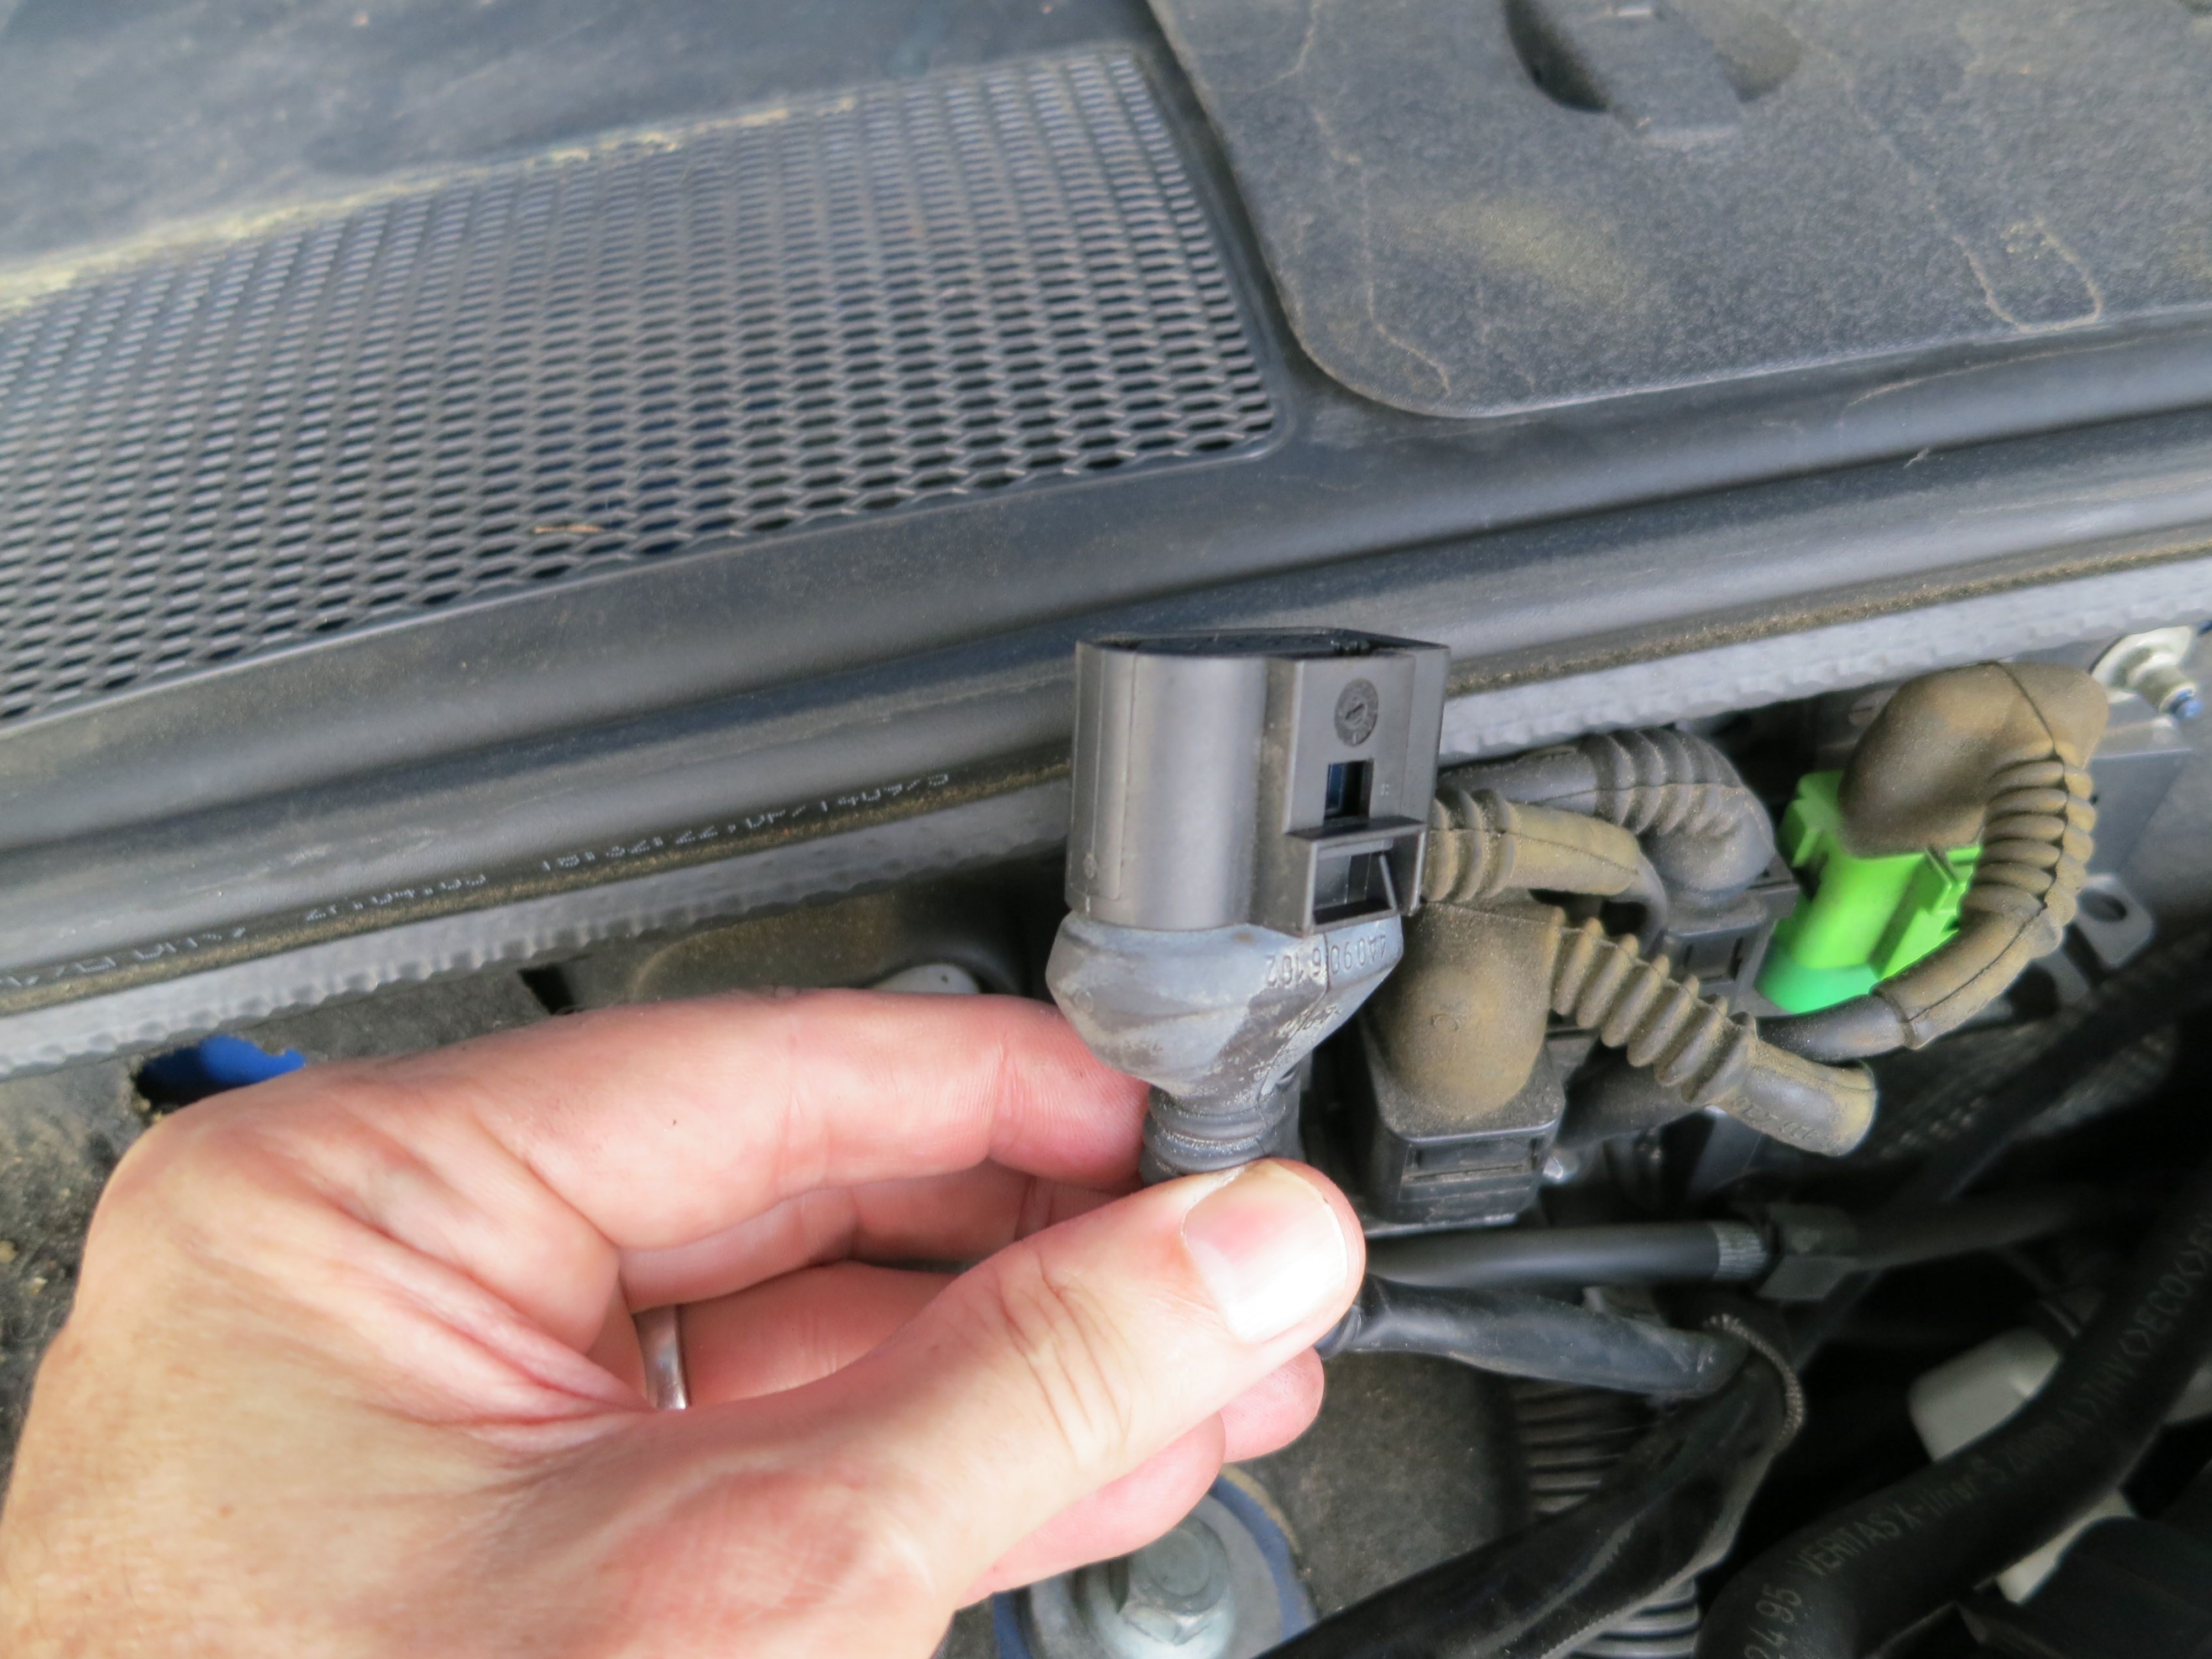
erWin manual says to disconnect the fuel hose from the fuel rail pipe. Probably would have made it a little easier to get the cover off and then back on again, but I skipped this step. The connector at the MAF airflow sensor has the clip on the bottom so you can’t see what is going on. If you push in and back on the lever towards the back of the plug and give it a tug it will pop off. Here is a picture of the bottom of the plug:

IMG_0493

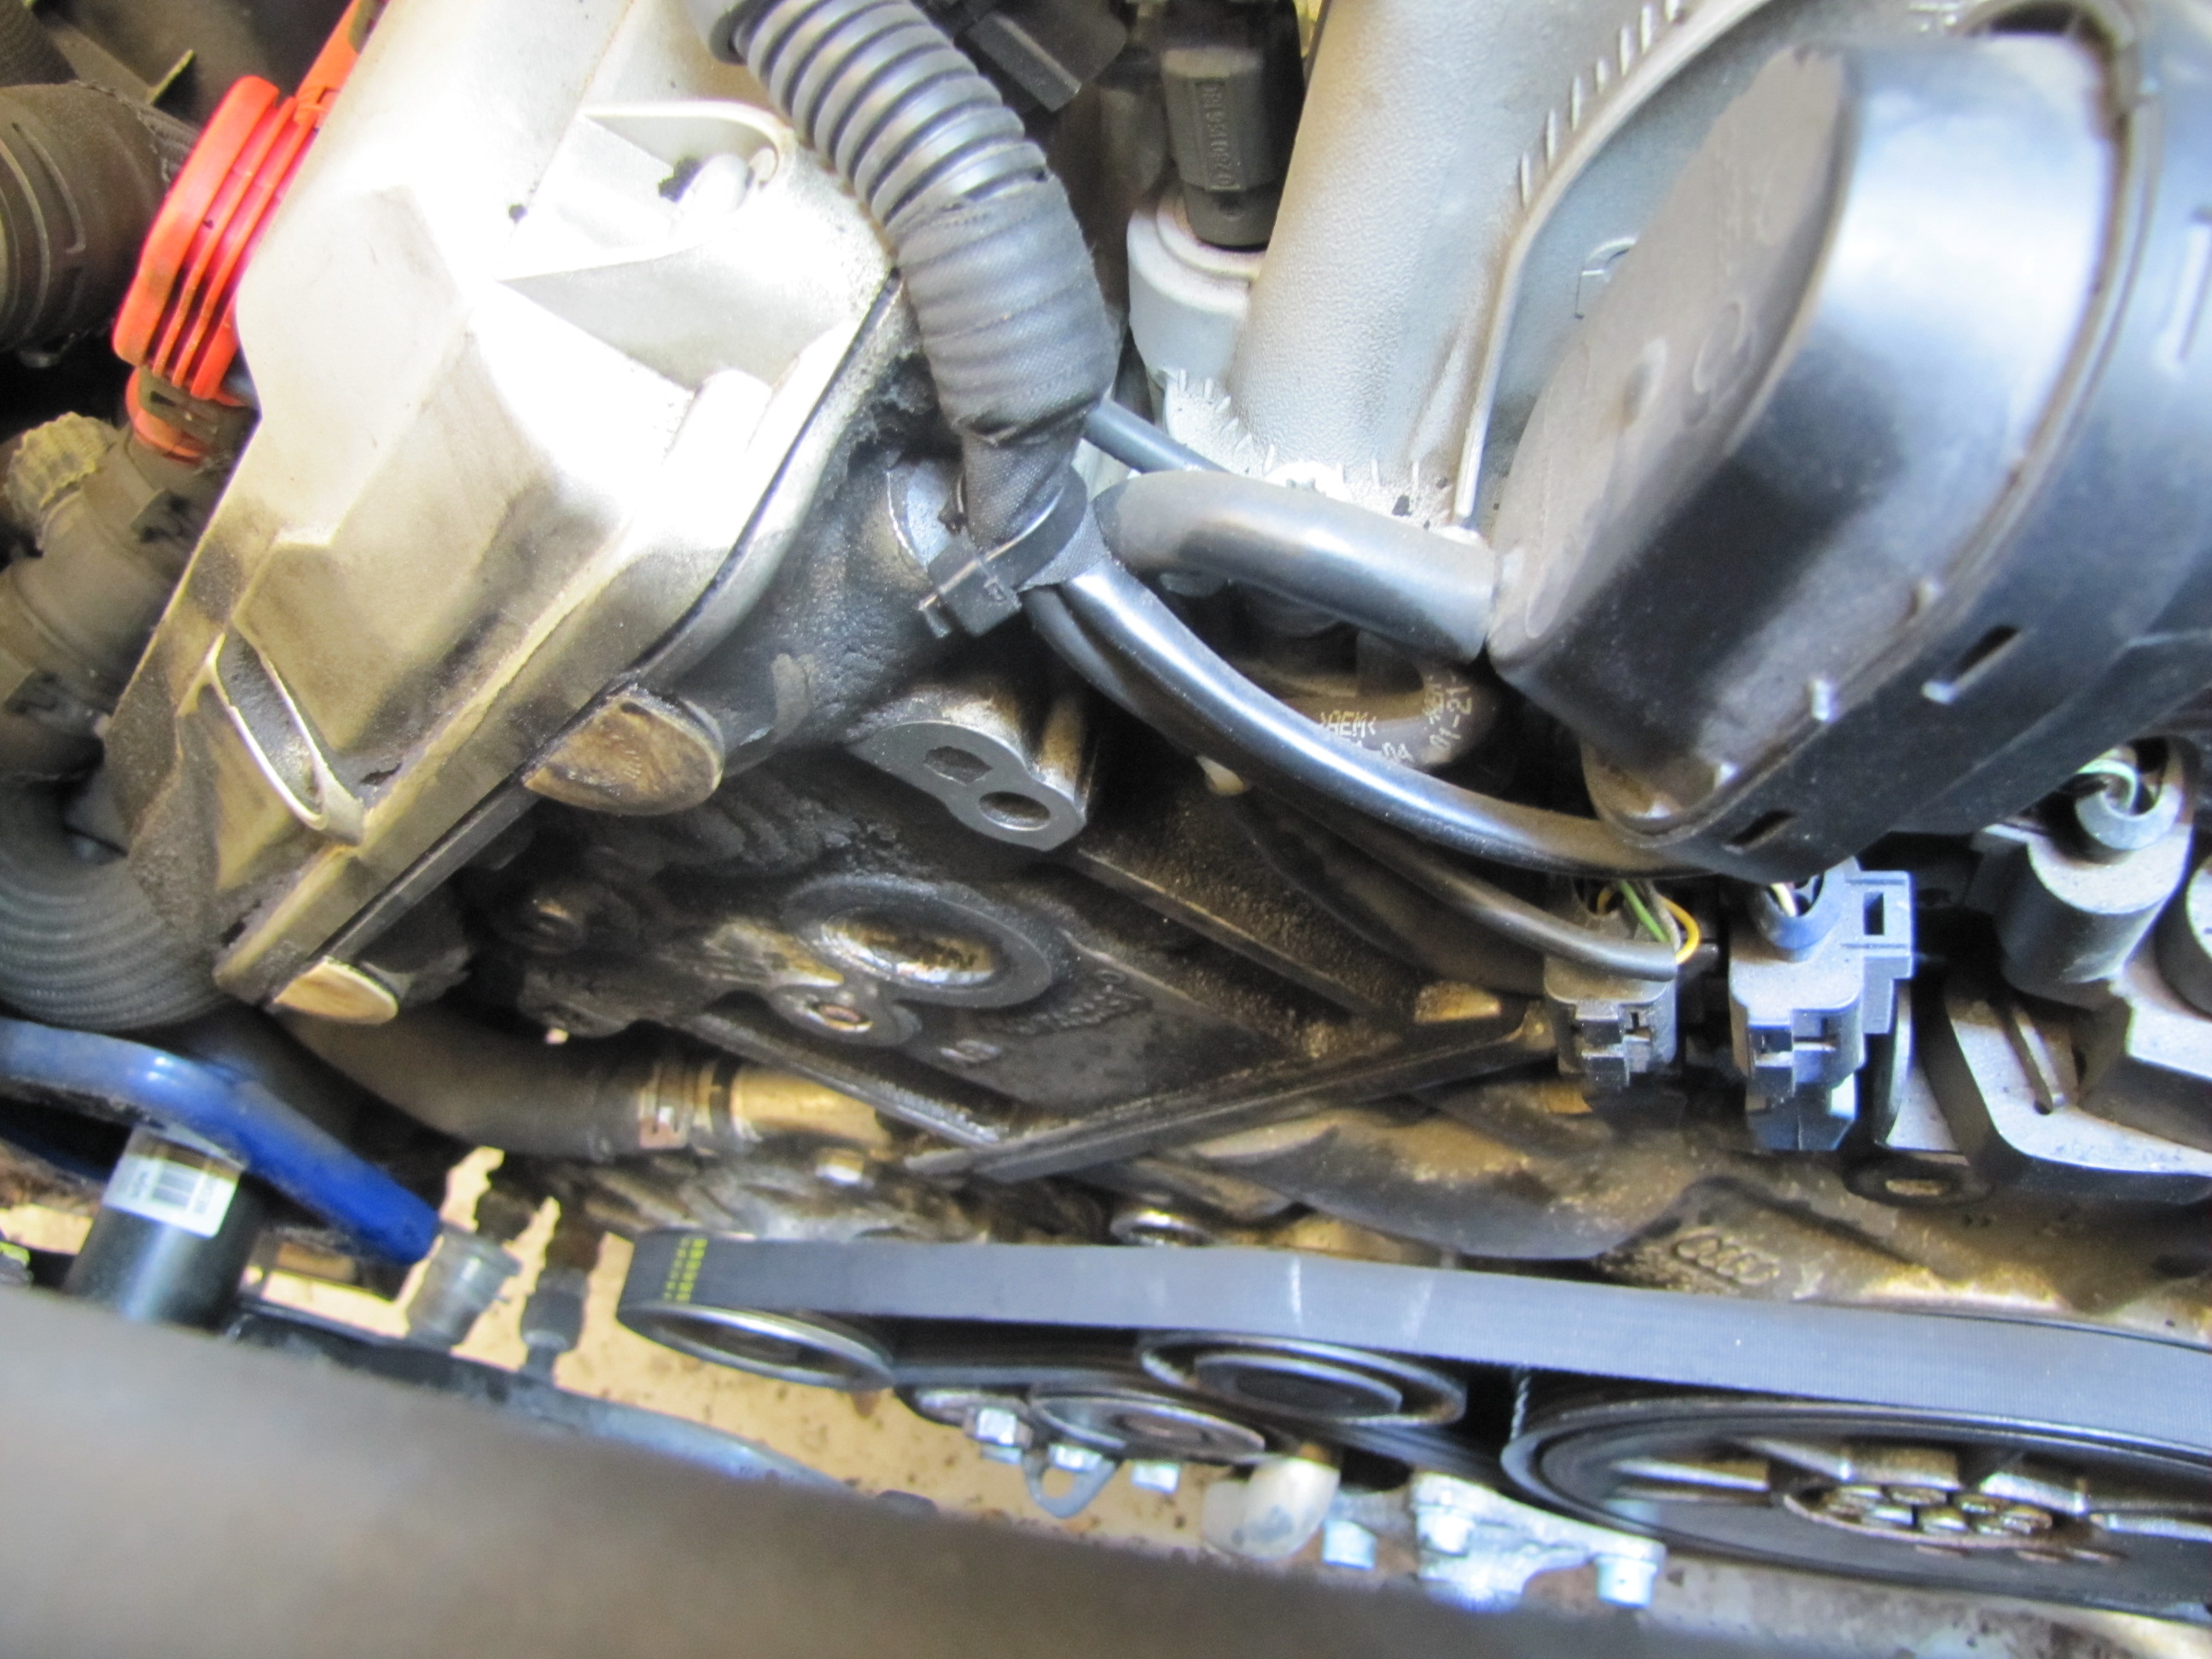
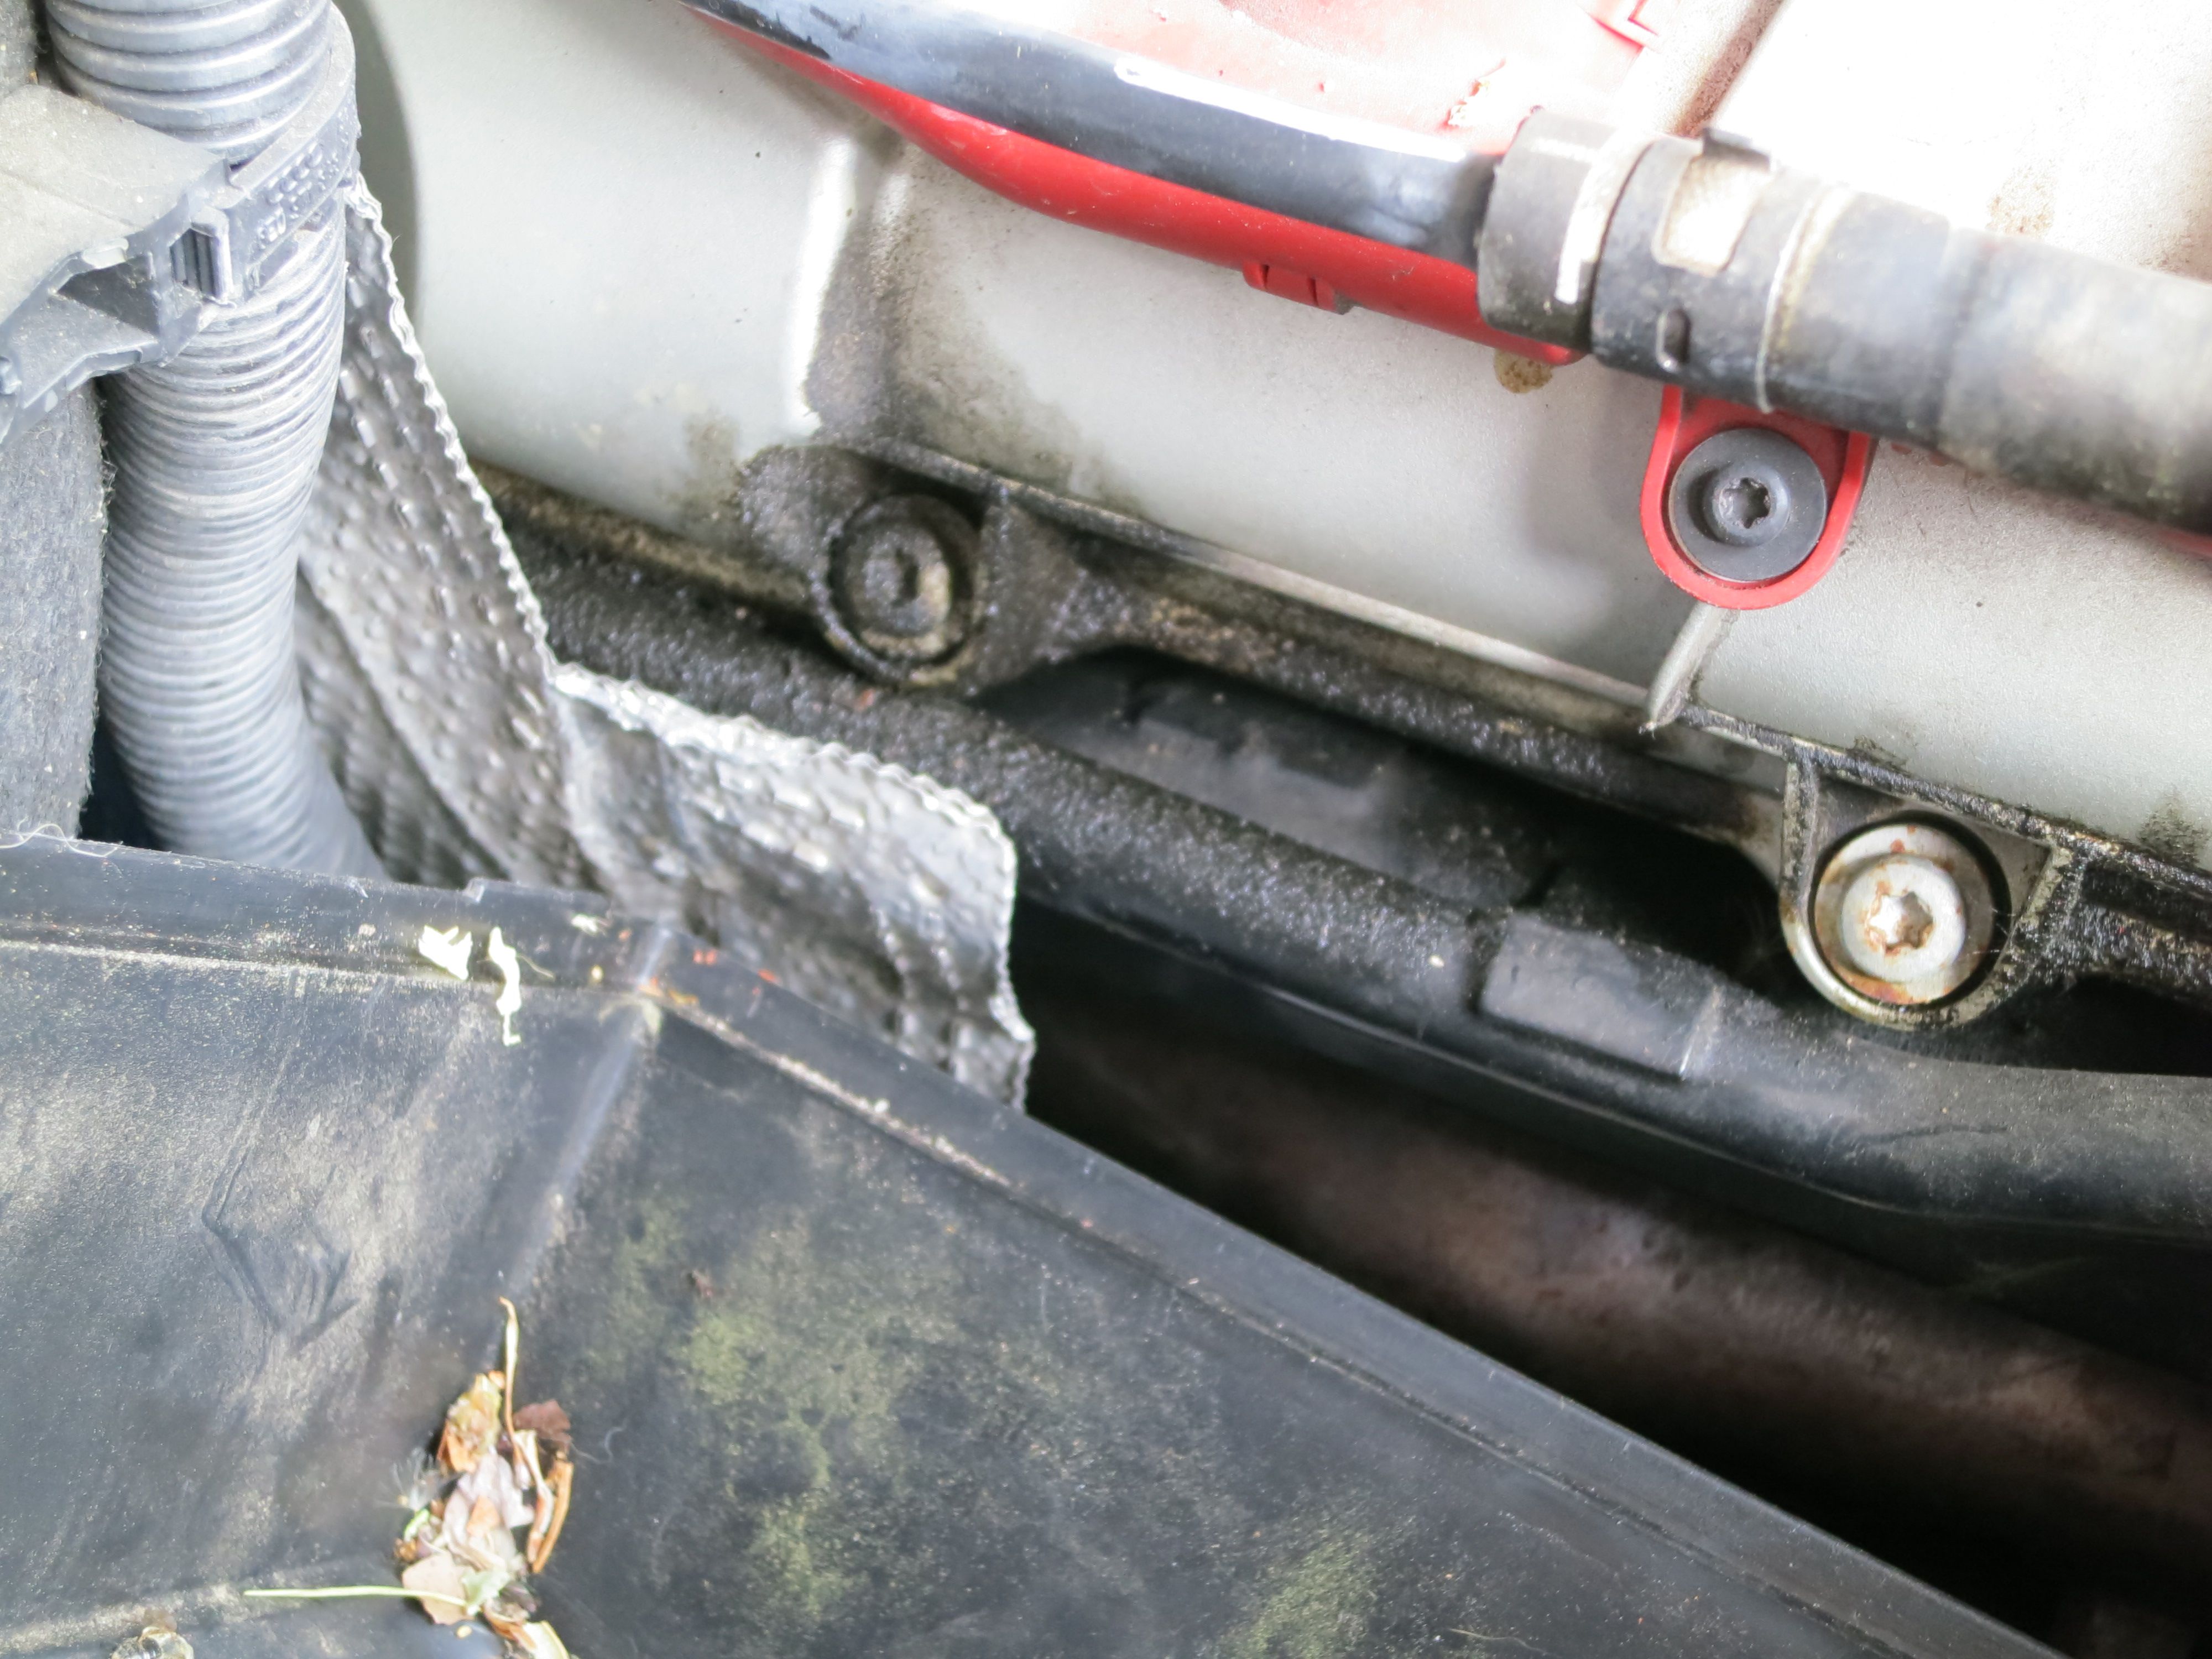
Once I removed the air filter housing I could see that it looked like there was in fact some oil leaking:

IMG_0497

When I got the coil packs out there was a little oil on the end of one of them, but one of them had an oil film from tip to tail:

IMG_0500IMG_0498

I don’t think I am getting any misfires, so I cleaned it up and put it back in. Maybe the seal was leaking a little bit. When I pulled the old gasket off the valve cover it did feel a bit brittle at the edges. Almost seven years old, so understandable (I have owned the car since new). Also in the pic above you can see the coil pack puller I bought on eBay. It worked just fine.

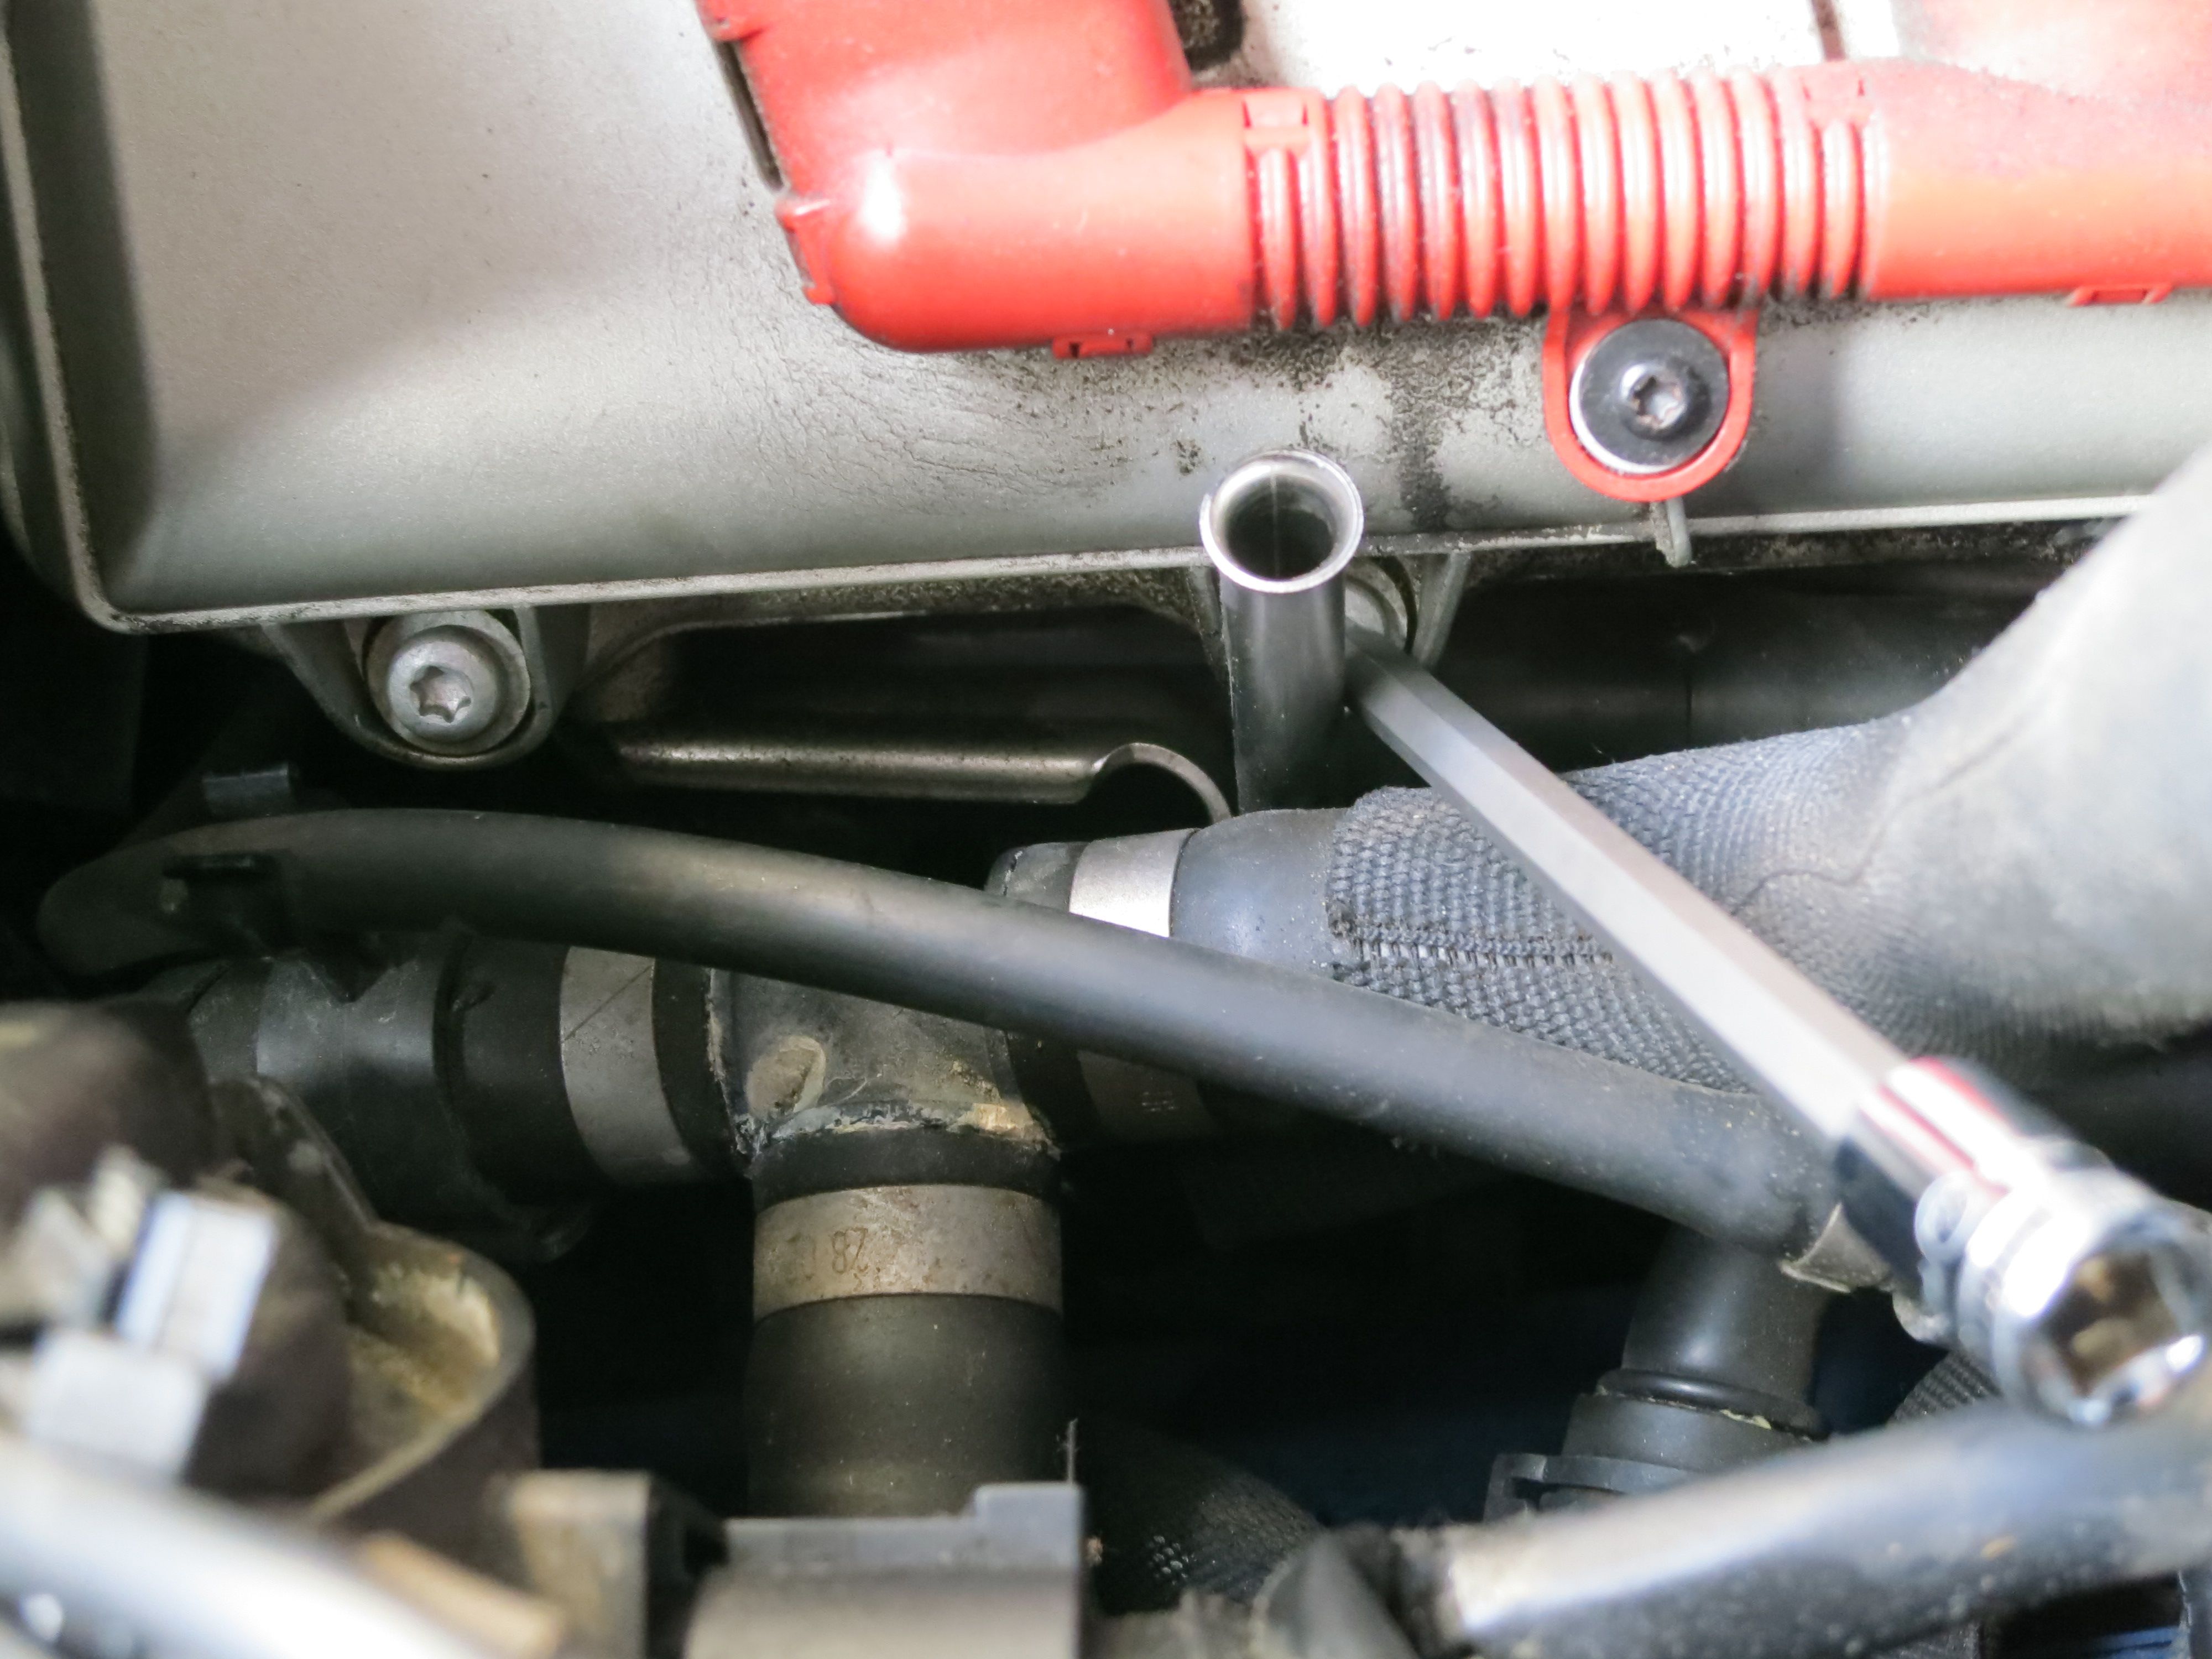
Initially I did not remove the air guide attached to the throttle valve, but it was a bit of a pain when I took the cover off, and I wanted to be able to get at the sealing surface easily, so I took it off:

IMG_0501IMG_0504

The factory clearly used high temp sealant, and were a little sloppy with same:

IMG_0505

As for the driver’s side, I opted to not use sealant with the new gaskets. Again, seems to me the gaskets are held in place very nicely by the deep groove in the valve covers, as well as the bolt washers.

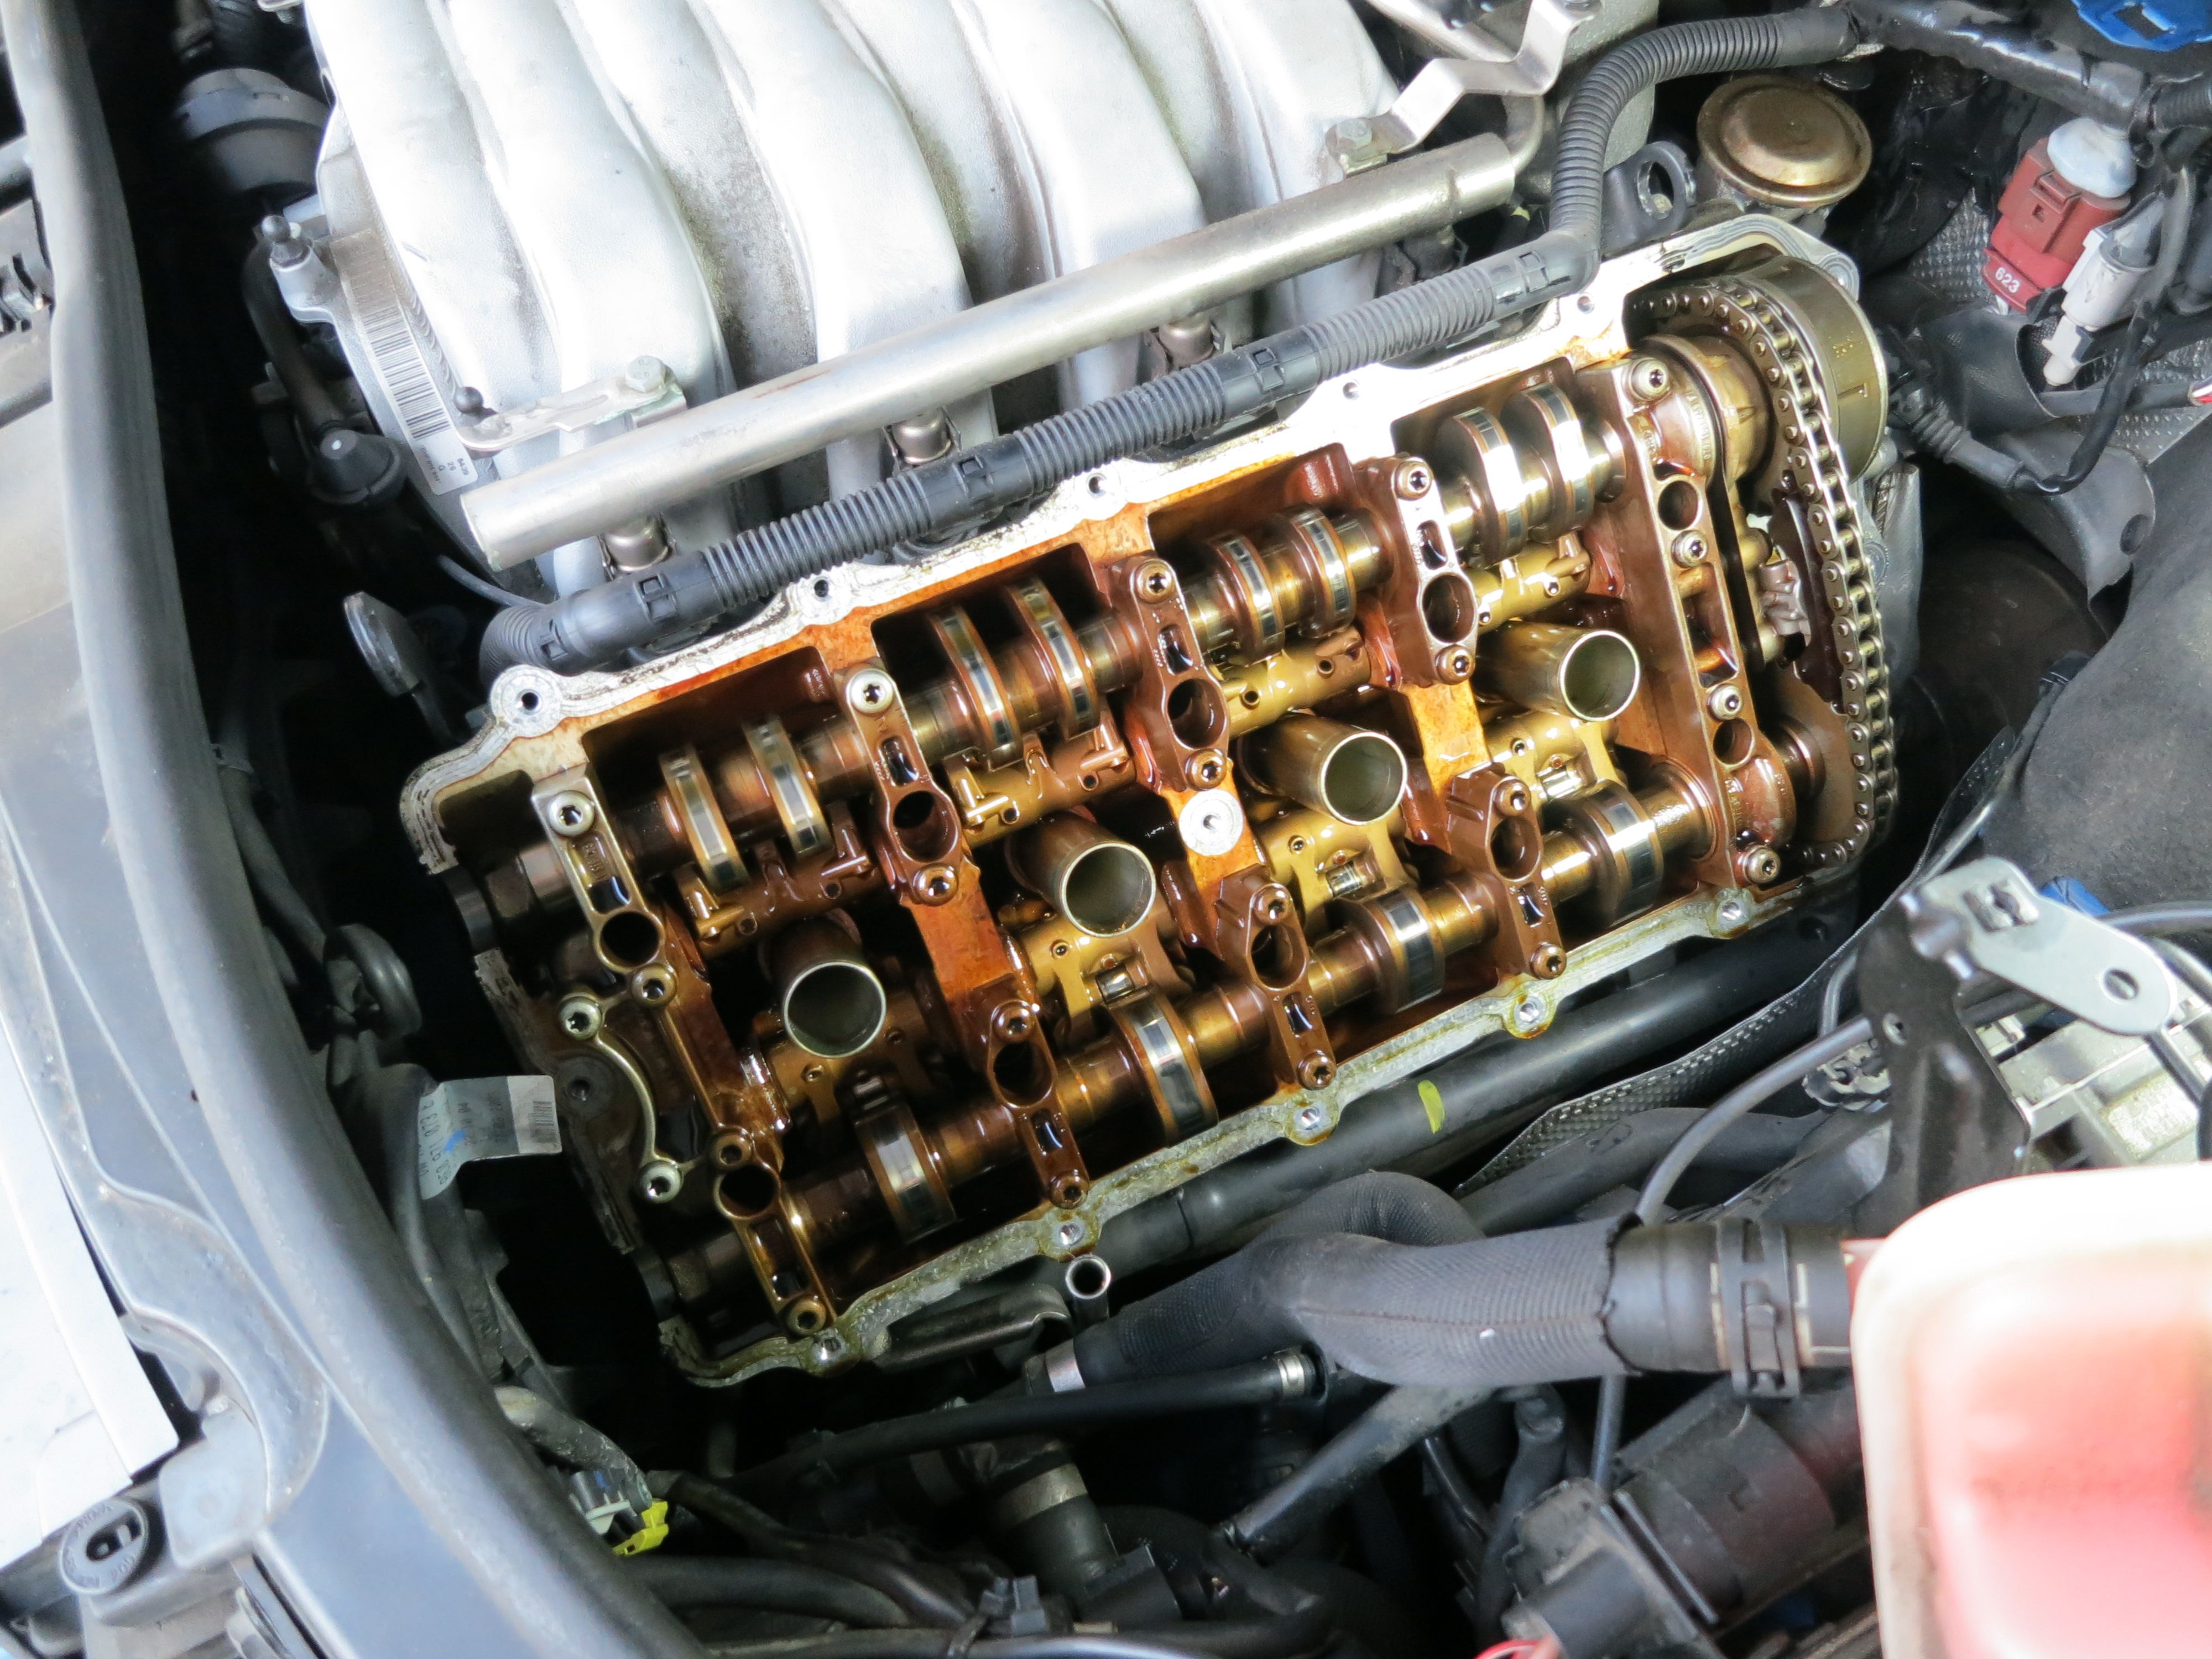
I didn’t think this side was any harder than the other side. Lower back bolt is hard to get at, but you can get one of the little ratchets that Joey suggests on it. And on this side you can even get a long T30 bit on the lower back bolt at an angle, but well enough to spin it out once it is loose.

I hope I didn’t over-torque the bolts. Unfortunately given bolt locations it is just not possible to get a torque wrench on a good number of them. I followed the erWin tightening pattern, snugging slowly, and went until it hurt my hand to go much tighter with a short 1/4 ratchet drive. Though I wonder if there is a downside to over tightening other than breaking the bolts, because there are a couple of washers and a rubber grommet, which if designed properly maybe bottom out and create the right pressure on the gasket via the compression of the grommets.


Audi B7 S4 Valve Cover Gasket Replacement – Part 1

Last time I had my S4 in for service (75k, so including ribbed belt replacement) the dealer pointed out that I had some oil leaking from the valve covers. The service advisor (working on a commission basis) said they recommended that I replace the valve covers along with the gaskets, at $660 per for the composite valve covers. He said no way to check existing covers for warpage (I assumed because they were a funny shape) and said they had better outcomes by replacing covers when they did gaskets. In absence of a AOA recommendation to do this I took a pass, did a little homework, and decided to replace the gaskets myself.

Here are the pictures the service advisor sent me showing the leaking valve covers, taken while the bumper was in the service position to change the ribbed belt (not sure I see anything here other than a dirty engine, but I suppose there is some oily stuff that presumably came from the valve covers):

IMG_4750 IMG_4751

I ordered gaskets from genuineaudiparts.com, site is a little confusing, gaskets were 077198025B (passenger side), 077198025C (driver side), and I also ordered high temp RTV, D176501A1. Not sure who exactly made the parts but they were clearly OEM, made in Germany and packaged in VW group boxes. $48 for each gasket, I think the dealership wanted something over $90.

There is an excellent DIY by Joey Cuccaro on this here, and I also pulled down the erWin manual, pages 186-190 of this guy. Not going to redo any of the good work Joey did here, just going to add the things I think are worth adding.

Figured I would start with the easier (driver’s) side first.

I should have popped the cap of the coolant reservoir before taking the overflow hose off, because when I did there was some pressure and some coolant squirted out. No biggie, but next time. Also, to move the coolant reservoir tilt the front end up a bit and pop the tabs in the back out by giving the tank a rap or two. Here are shots of the tank tabs and the brackets they fit in:

IMG_0489 IMG_0490

The erWin manual suggest removing a bolt holding the oil dipstick tube in place. I don’t know how you get at that bolt without taking more of the car apart, I couldn’t do it. But with a long T30 bit I could pretty much get at the bolt behind the dipstick tube:

IMG_0488I didn’t have any trouble loosening the bolts (actually one of them was a little loose already, maybe I should have tried re-torquing everything before taking this on). Don’t worry about them falling out, they are held in place by some combination of washers and the gasket. No problem getting at the back lower bolt if you have the tools Joey recommends. Pretty soon I had this!

IMG_0491

IMG_0492

The half moons on the back edge came off with the cover, and the ones in the front stayed on the engine. I dropped one of the front ones where it was out of reach and poked it down so it would not get in the ribbed belt, hopefully it made it to the belly pan and fell out. So maybe be a little careful about the half moons. Factory had clearly used some RTV around the corners and the half moons, which I cleaned up as part of the surface prep. The old gasket seemed like it was in very good shape, plenty elastic, didn’t look smushed anywhere, etc. Back to my thought on re-torquing bolts before taking this on.

It was hard getting the coil pack seals off the cover. I tried to push them off from above, but most of the work was done with pliers, levering them off from inside the cover, they eventually popped off after applying quite a bit of pressure.

I decided not to use RTV for the new gaskets, which are T-shaped and fit very nicely into the valve covers. I think RTVing the corners might be from flat gaskets where holding the gasket in place is an issue. I don’t think these gaskets are going anywhere, and the erWin manual says nothing about using RTV. I did coat the half moons lightly with oil.

I torqued the bolts down using the pattern in the erWin manual, clockwise from top left it is 15, 13, 6, 4, 9, 11, 2, 12, 7, 5, 8, 10, 14, 3, and the center bolt is 1. Manual says 10 Nm, but for a number of the bolts it is hard to get at them and I don’t know how you would even hook up a torque wrench. Joey suggests a quarter turn after snug, but maybe my snug is snugger than Joey’s, because I didn’t want to go much past 1/8th of a turn past snug, and I checked a couple of bolts with a torque wrench to make sure I was in the right zip code. Firm with a short 1/4 drive handle.

A couple of the coil packs had a little oil on the end, maybe I should have peered down into the spark plug recesses to see if there was something bad going on there. But engine is running fine and I pull codes with Ross-Tech’s VCDS every once in awhile. Hopefully no big deal.

Whole thing took me three hours, but I work slowly/carefully, take breaks, look around, etc. I bet I could bang it out in less than two hours next time. We’ll see how the passenger side goes next weekend …


Inexpensive Virtual Data Room Solution

As a small business owner working in financial services it has always bugged me how expensive good virtual data room solutions were, with pretty much anything that is any good only being offered as SAS (software as a service) with what I always thought was overly high pricing (two if the biggies/oldies, Intralinks and FilesAnywhere, don’t even include pricing on their websites, which to me is a red flag). So we have muddled along using DropBox and ftp through a hosting service like Hostgator. Former creates copies of everything on everyone’s computers, and the less tech savvy often have problems with the latter. Neither project a particularly professional image.

I don’t know why I didn’t find it sooner, but I recently stumbled on an application called Rumpus, a  “complete internet file transfer solution for the Macintosh.” Here is why I like this application:

  • Runs on a Mac
  • Users can access a simple to use interface through any browser
  • Easy to set up, but good functionality for user permissions, security, and creation of a branded/customized site
  • Can log user activity
  • Allows users to retrieve and/or change their passwords (with no administrator intervention)
  • Reasonable cost, a Mac, an internet connection, and the software is $269 for 32 users/simultaneous active sessions and $449 for unlimited users and 256 simultaneous active sessions

Here are the steps to set up:

  • Grab a domain, or create a sub-domain of an existing domain (e.g., files.yourdomain.com), and point it (setting the A record) at the fixed IP address of a Mac Mini (probably possible to set up on an existing server, but I opted for simplicity/stability of dedicating a computer to this service), I also set the reverse DNS with our ISP, but for this service I don’t think this matters (does matter for a mail server)
  • Acquire and set up a SSL certificate (you could do self-signed, but for the professional image I think better to get one from a certification authority, they are cheap anyway)
  • Install Rumpus and set up, customize the web settings (keeping simple, or go wild with html templates in the WFMTemplates folder) and make sure connections are forced to HTTPS and FTPS so all data transfers are encrypted
  • Set up a folder structure that works for your team, use aliases to control/restrict access for vendors/partners (I created a Partner folder and put a folder for each vendor/partner in there, those users get access to those folders only, then I drop an alias of whatever they need to see in their folder)
  • Hook up a big external drive and turn on Time Machine
  • Create a backup image of the Mac Mini with SuperDuper once or twice a week (on additional external hard drives), and store at least one of those off site
  • Set up users and send them a message with their login into (configure so they can retrieve and change their login info)

I would also add that John of Maxum was EXTREMELY responsive to questions I had, leading to me understanding that:

  • Demo version of Rumpus is for both Standard and Pro versions
  • You do not have to use Open Directory to set up more than 100 accounts, his view that performance would still be good at 500+ accounts and 20-30 concurrent users

Next up, looking at moving from Evernote to Samepage for team collaboration …