Category Archives: Home Repair

Weber Genesis S-310 (2008/2009) Repair

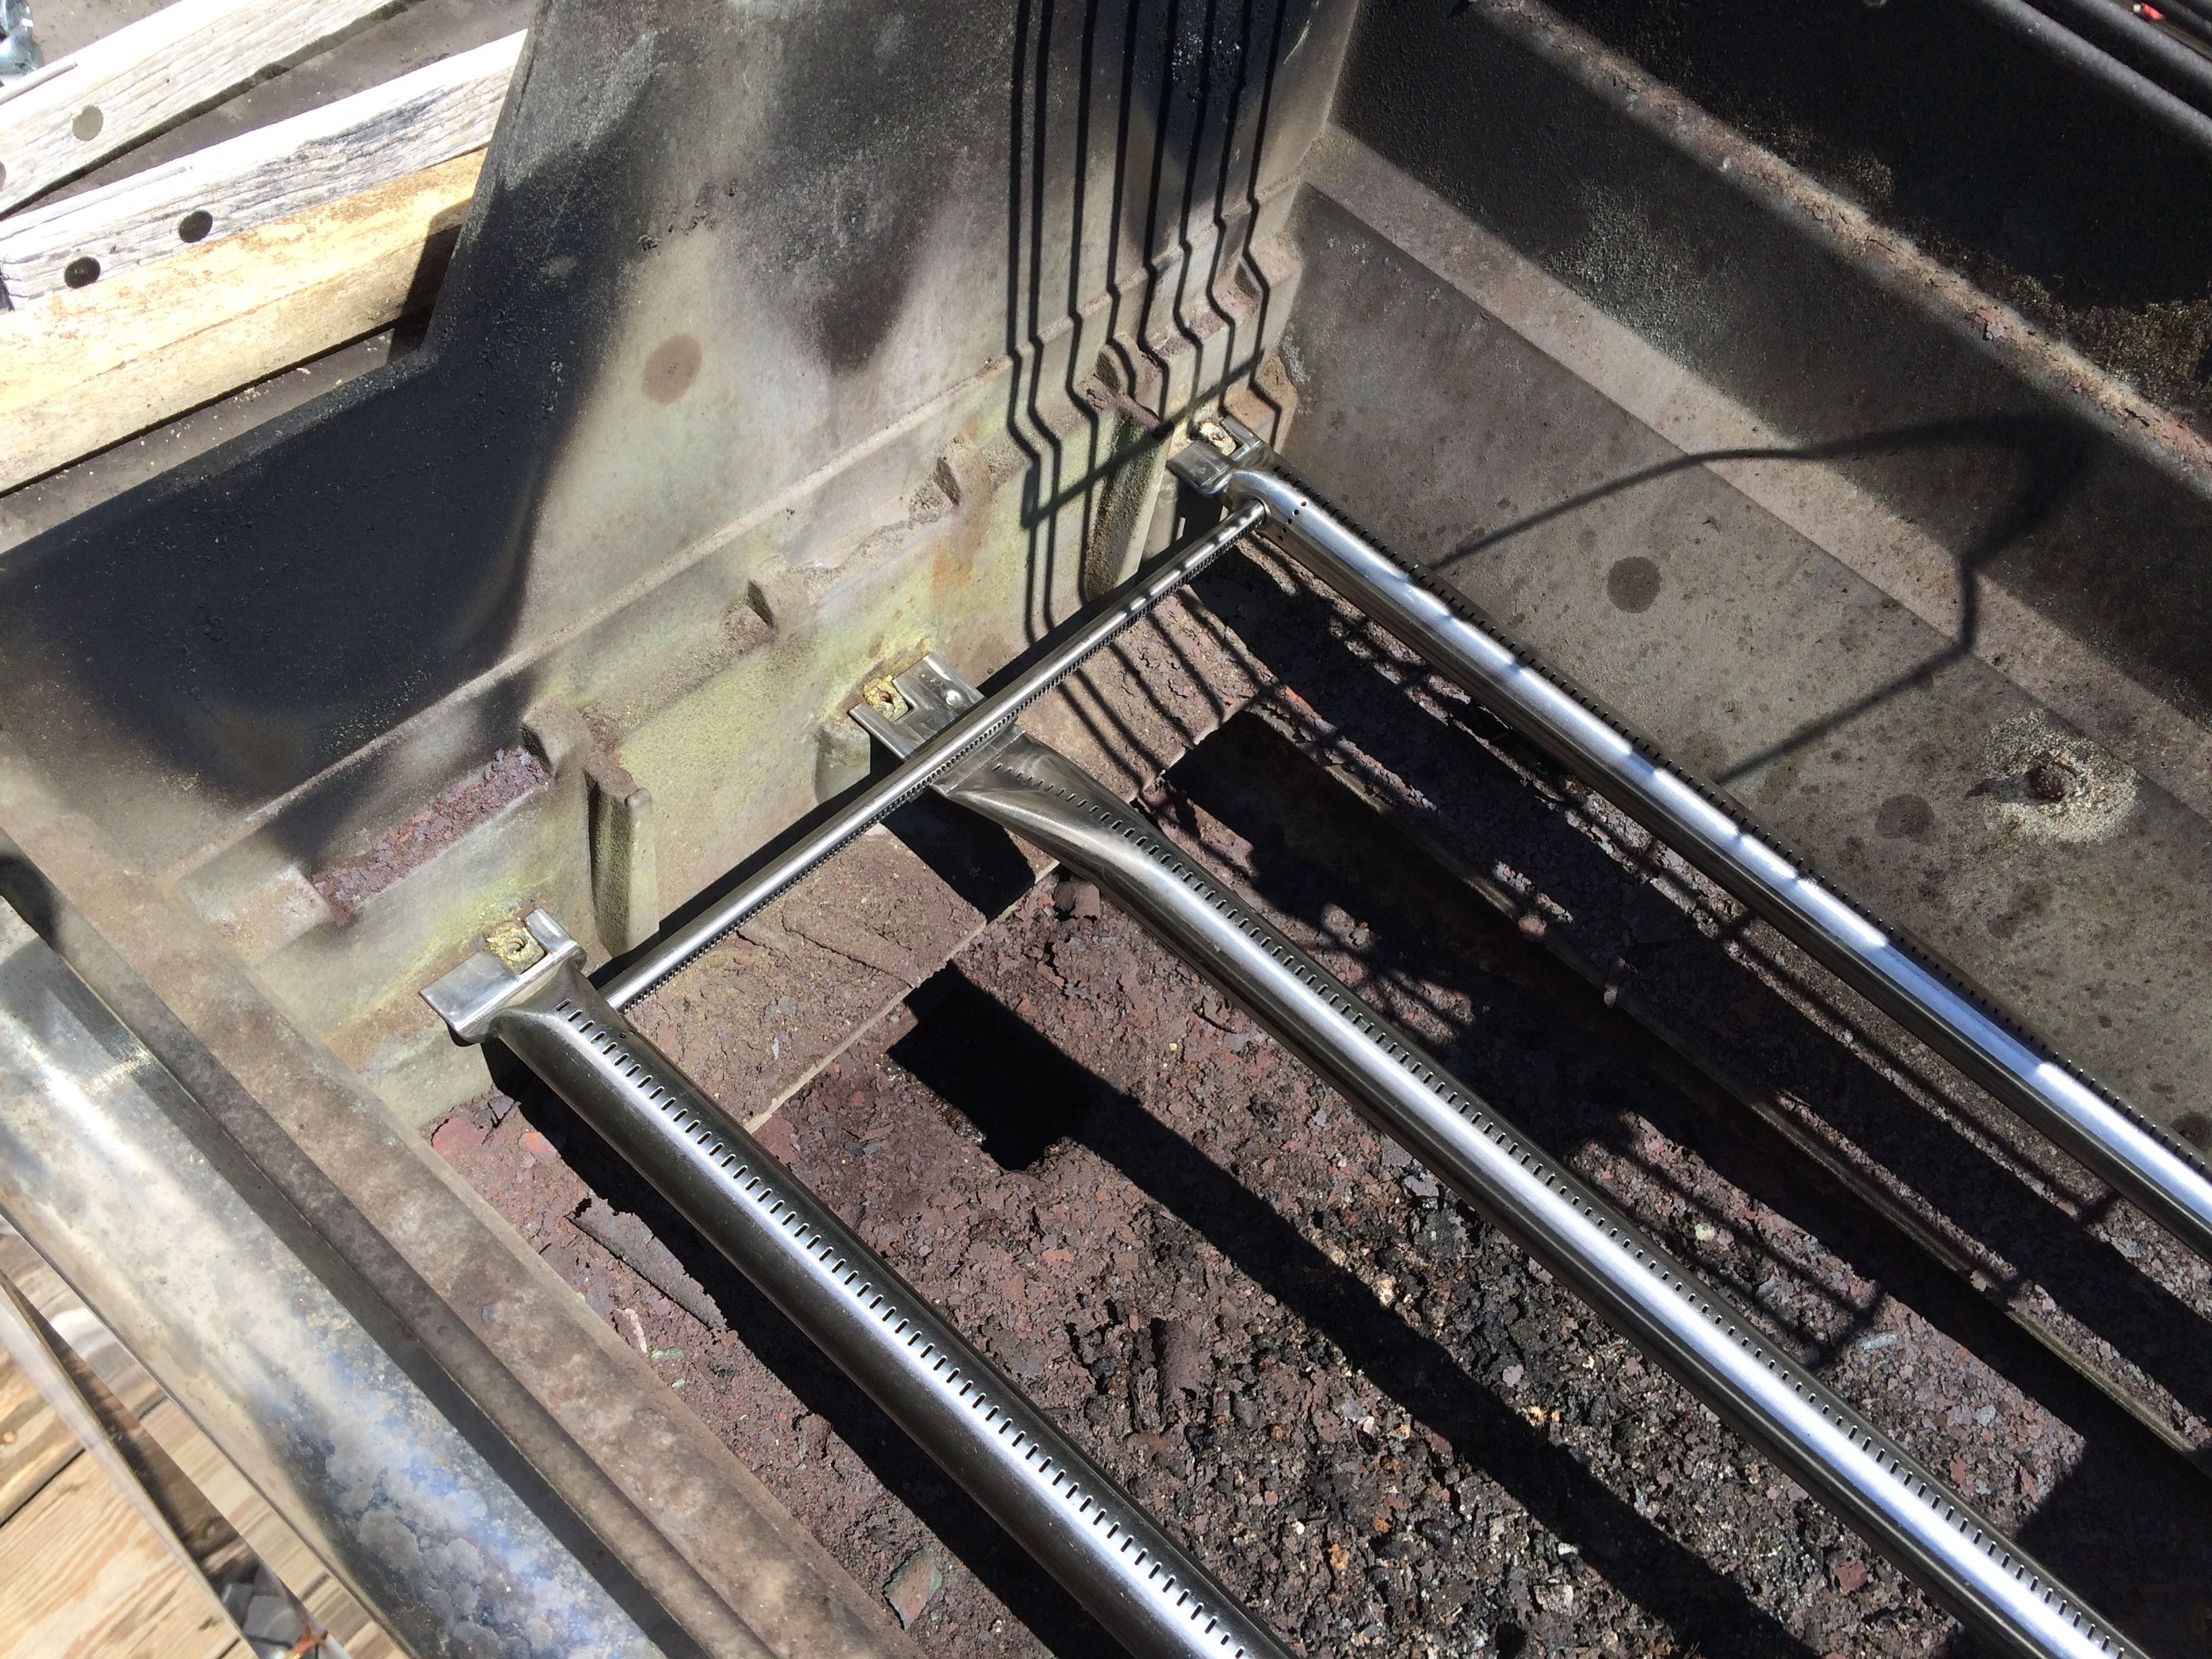
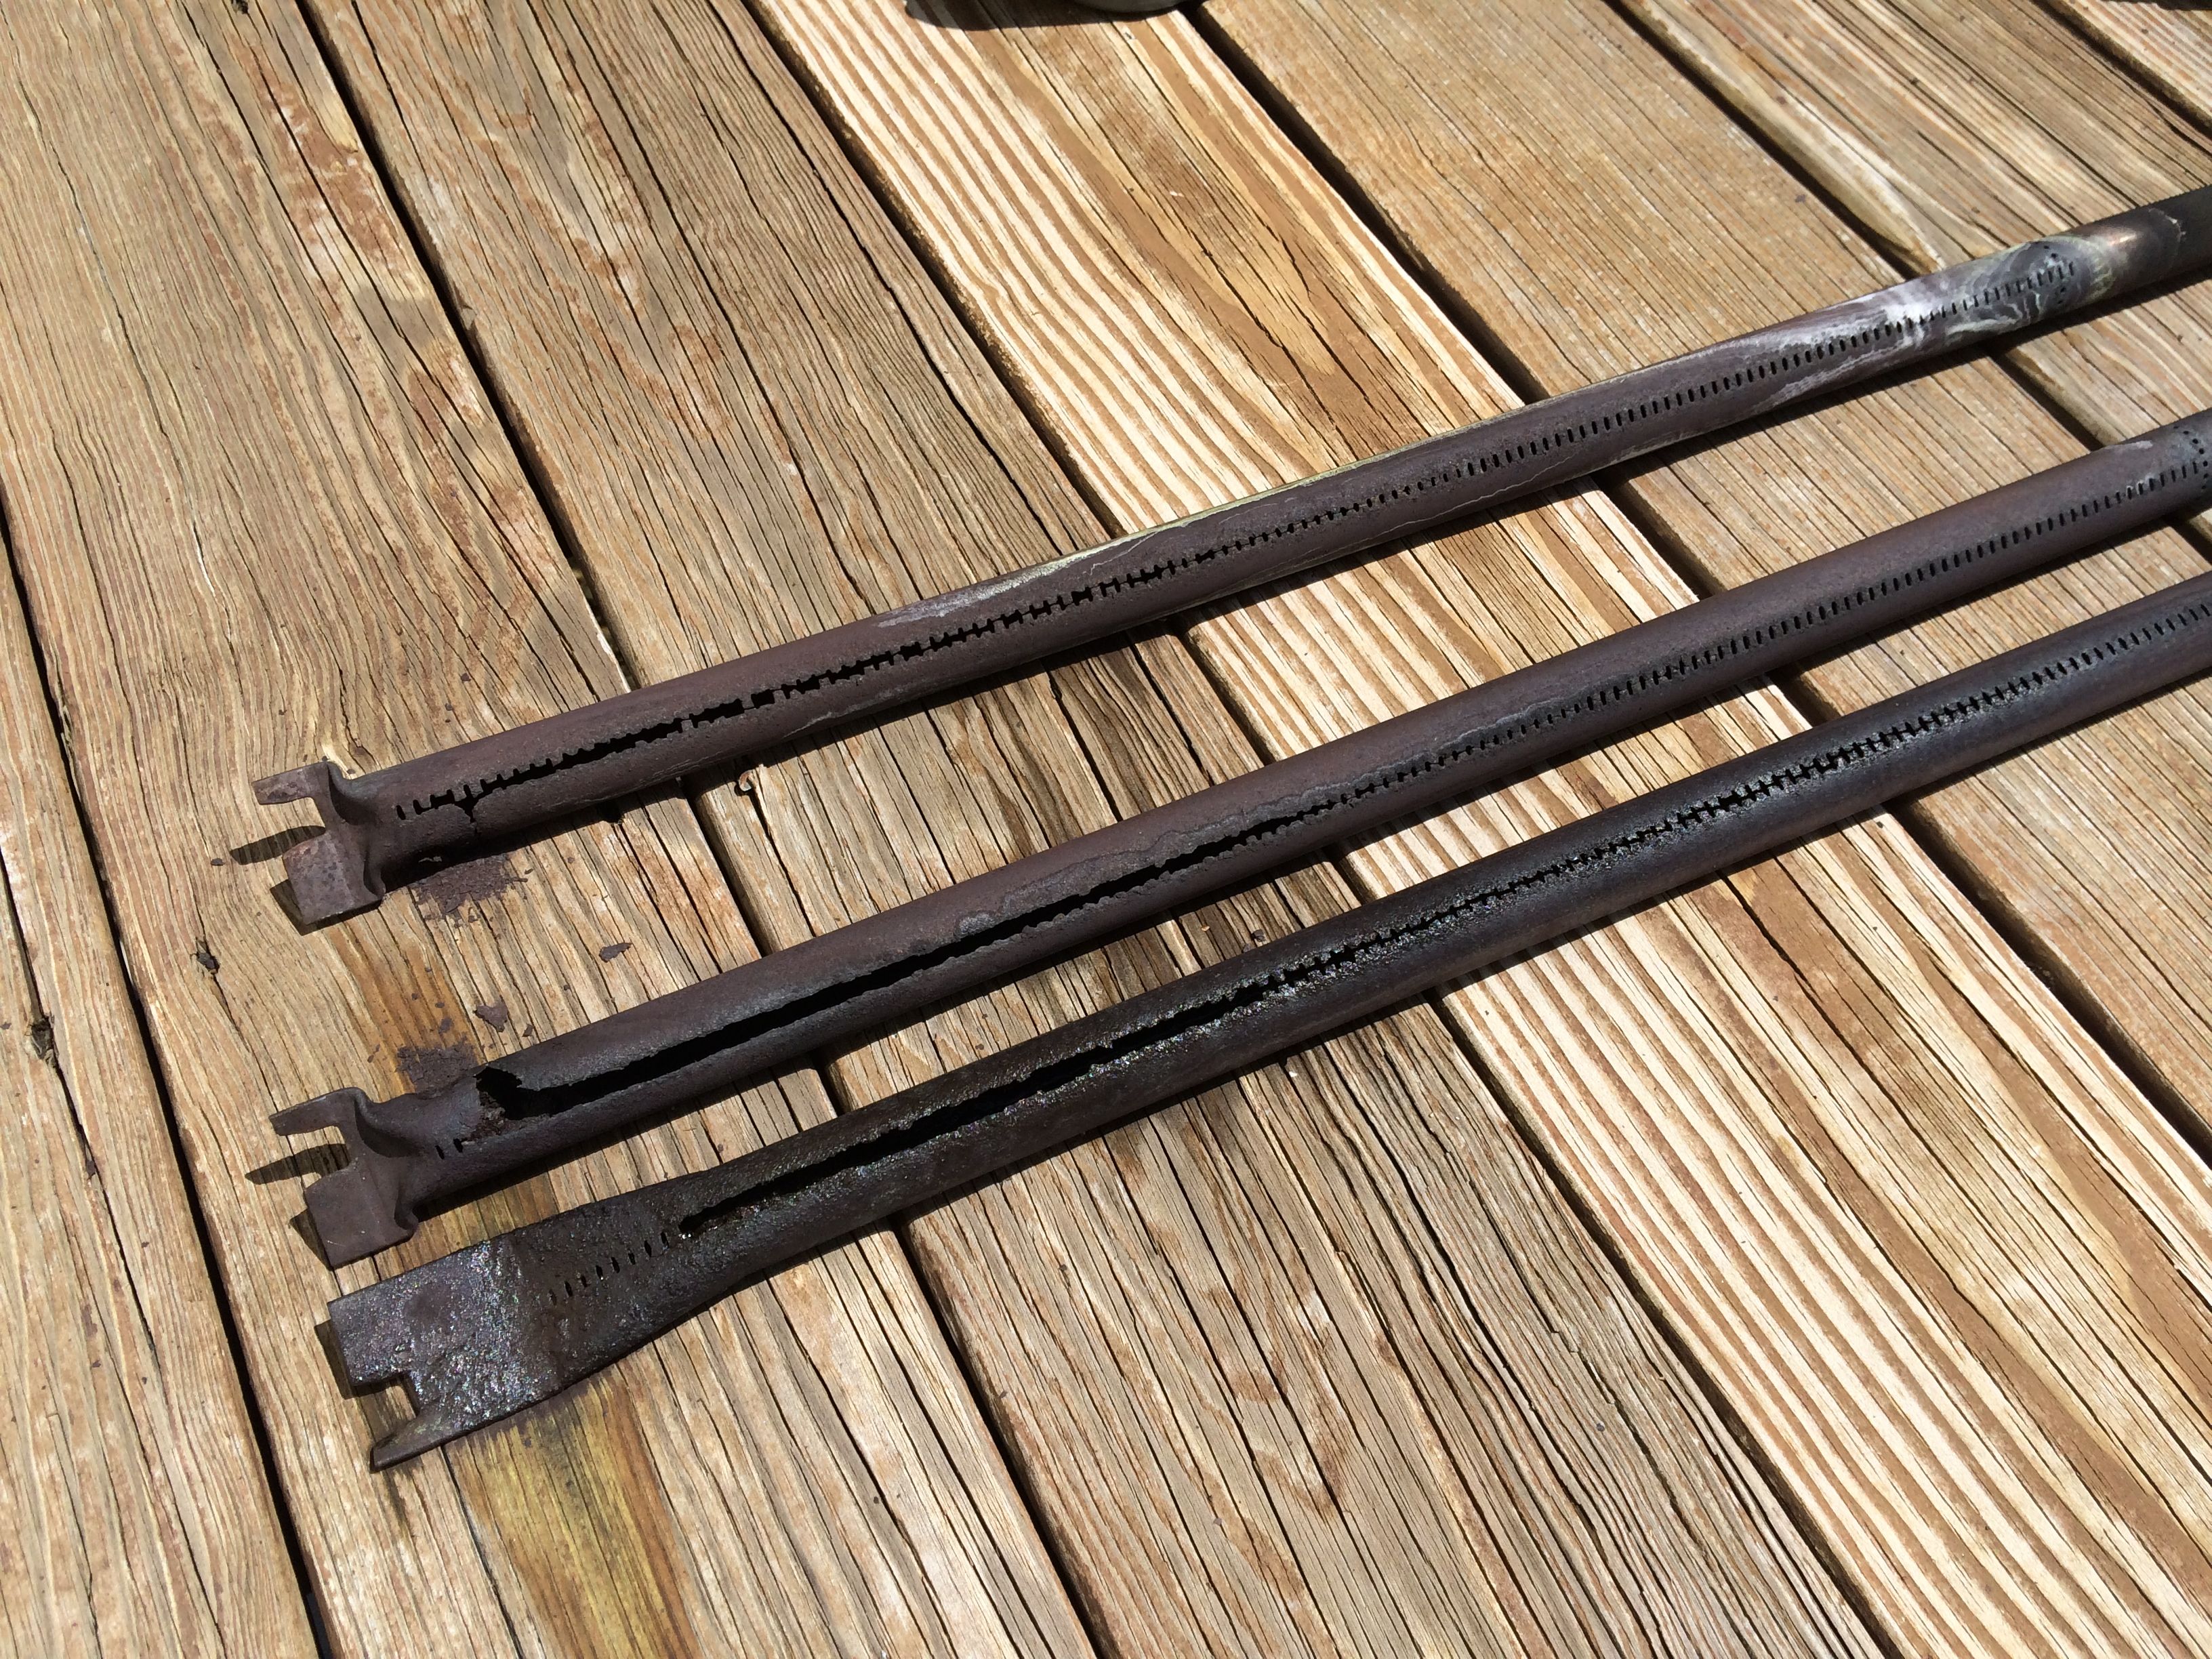
Flavorizer bars and burners on our old Weber S-310 (3 years old?) were completely corroded through, new one was $850 or so, so I decided to replace the flavorizer bars and the burners to delay a new grill purchase for a few more years. I didn’t take a picture of the old flavorizer bars, but here is a picture of the old burner tubes:

IMG_1096

The old S-310 has the burner knobs on the right side table (the new model has them on the front), so you need to make sure you get the right parts. I got the wrong ones from Amazon, sent them back, and got the right ones here. The flavorizer bars need to be 24 inches, and then you need the right burner tubes.

Replacing the flavorizer bars is dead simple. The burner tubes are also simple, but there are some tricks.

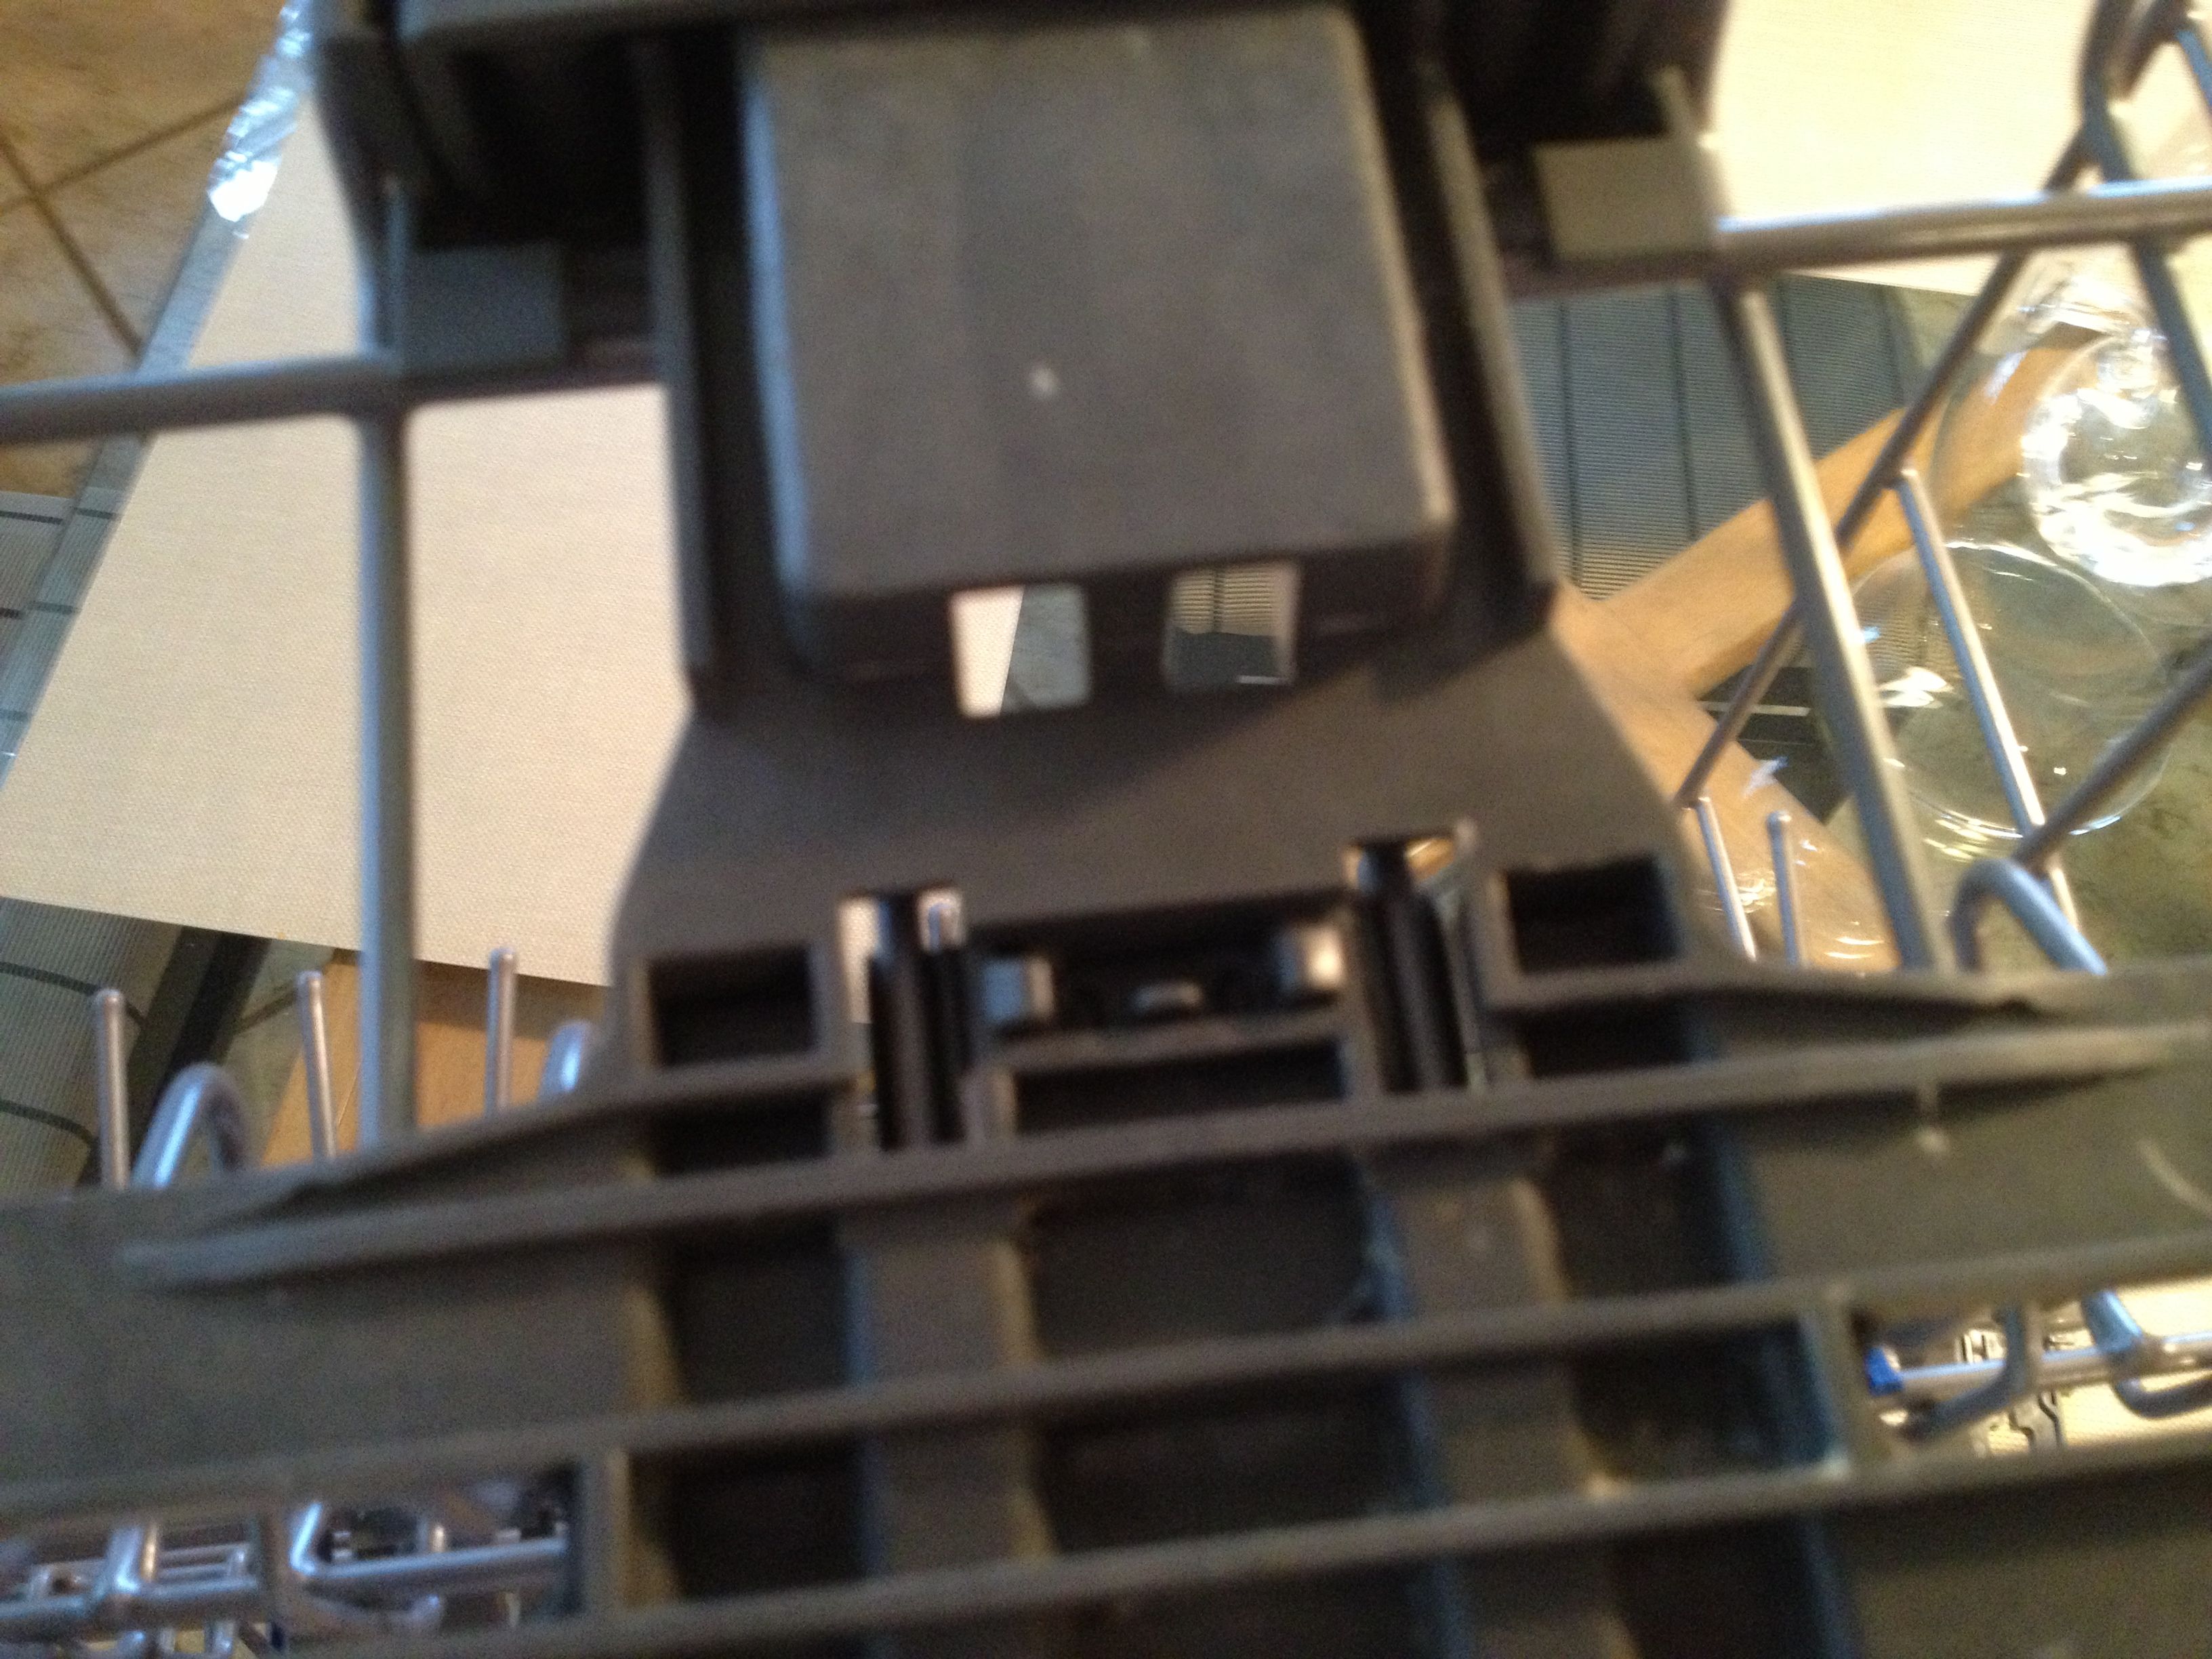
To replace the burner tubes I think Weber assumes you will remove the manifold assembly (they even include two replacement bolts for same). If your grill is anything like ours, it is impossible to remove the original bolts without damaging other things, hacksaws and drills will be involved. Here is a picture of the offending bolts (with new burner tubes already installed):

IMG_1094

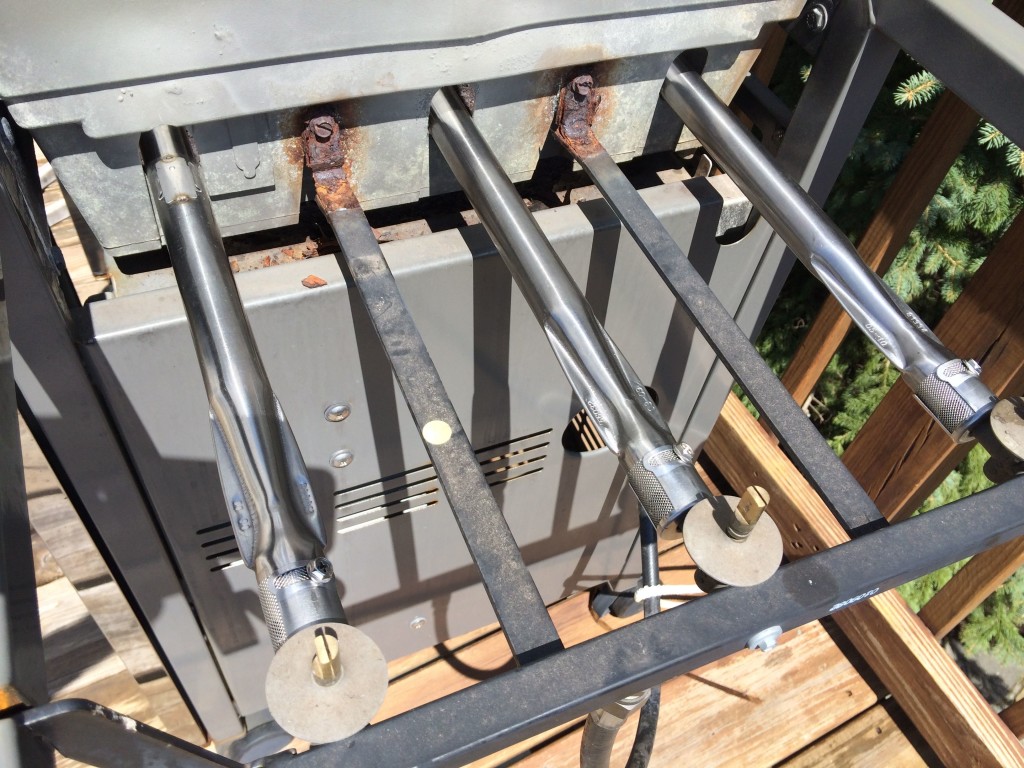
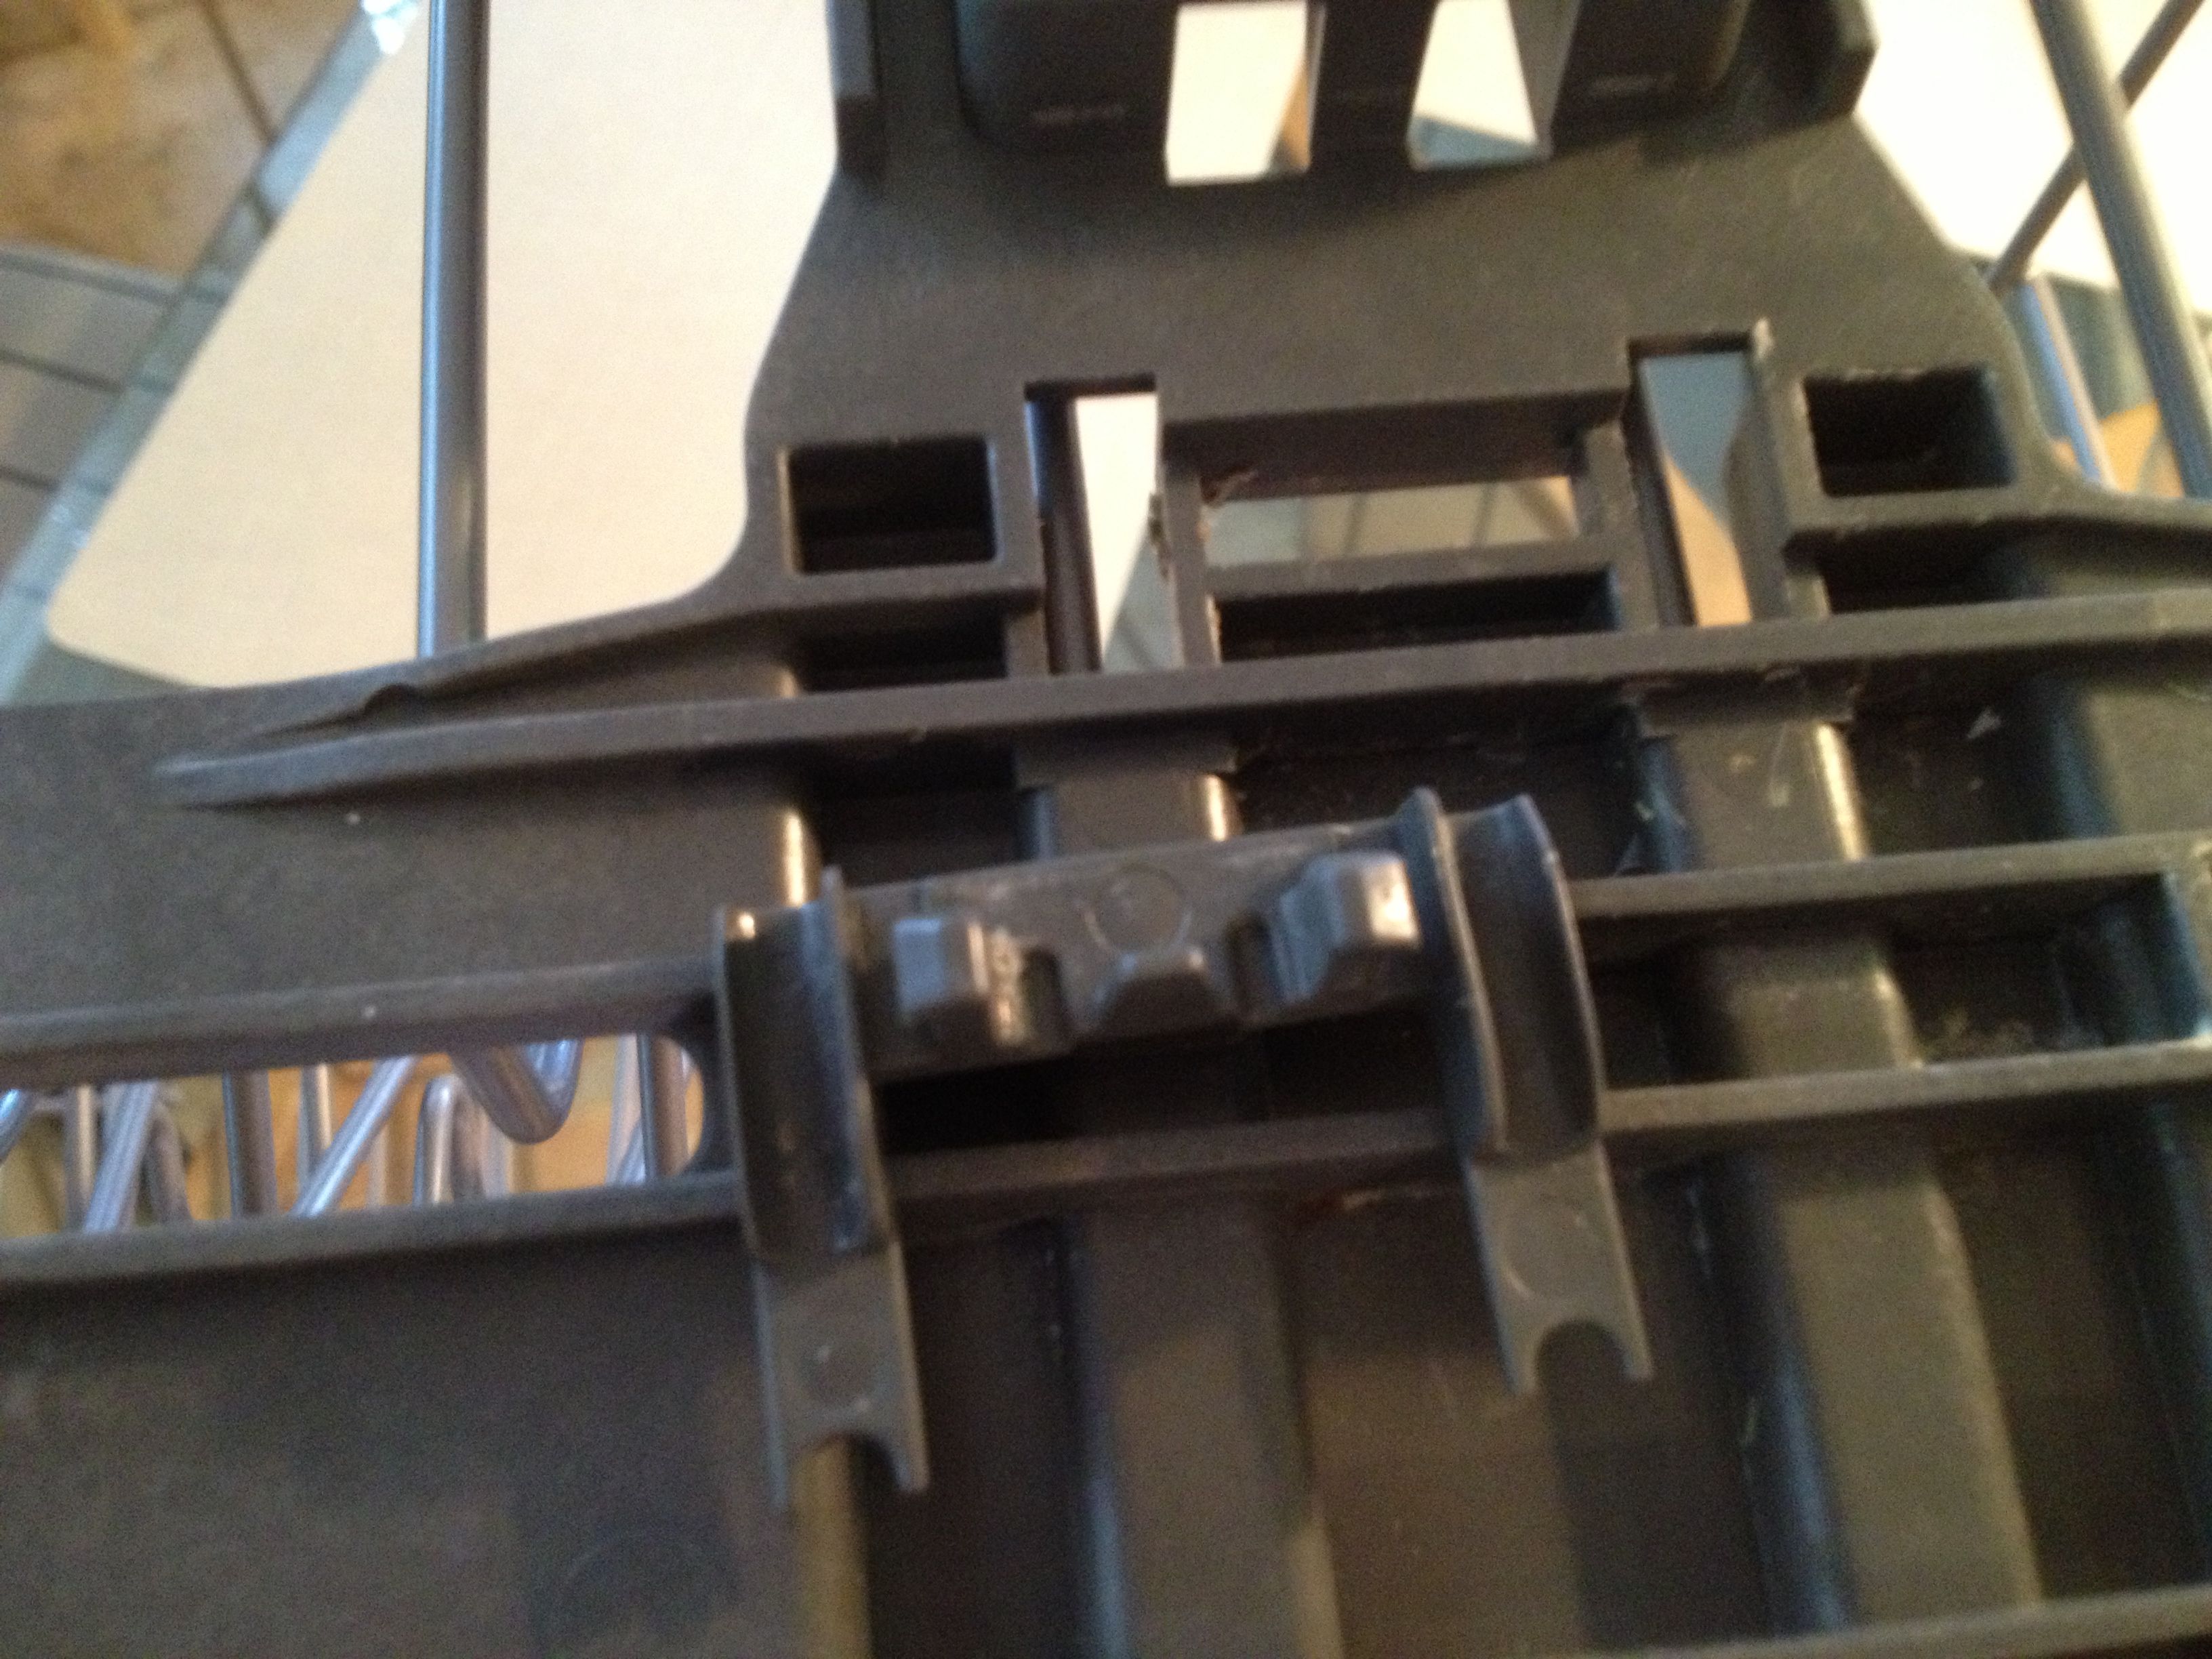
Instead of taking those two bolts out, go to the other end of the burner tubes and twist them off the screws holding them in place. Then you can easily get vice grips on those screws (I used some liquid wrench to play it safe), take them out, and you should be able to reuse them with the new burner tubes. Without these “set” screws there is enough play in the burner tubes to remove them from the manifold and slide them out of the grill. Here are the new tubes in place, before reinstalling the set screws:

IMG_1095

KitchenAid Upper Rack Roller Repair

Our KitchenAid dishwasher (ours is a KUDS30IXSS4, but I think this applies to any KitchenAid with an adjustable top rack) is just over one year old and the rollers on the upper rack are already broken, which causes the rack to come off the rails. The plastic tabs holding the rollers on break:

IMG_0925

I couldn’t find a DIY on this and was nervous about breaking more cheap plastic bits while making the repair, so here you go. Rollers are part of the rack adjuster assembly, link is to Amazon which seemed to have one of the cheapest prices. Even if only one of them is broken probably not a bad idea to just do both of them, as this is likely a cheap plastic temperature cycling issue and when one goes they are probably all on the verge of going.

Taking the rack out is easy, just flip the little retaining clips at the end of the rails to the open position.

IMG_0910IMG_0911

The three lower clips holding the roller assembly to the rack are easy to remove. The outer ones just slide to where a cutout releases the assembly (pop the long slider one off the rack).

IMG_0914IMG_0915

The middle clip is removed by squeezing the tabs together, you can do it with your fingers, or gently with a screwdriver (if you are going to break something this might be it).

IMG_0916IMG_0917

The adjusting gizmo has a door with two tabs on the top and a couple of pins on the bottom. Pry the pins clear of the body with a screwdriver, then slide the door down and off.

IMG_0924IMG_0919

Putting it back together is the opposite and easy. I don’t think you can goof up on this, but the thinner arm of the blue springgy thing needs to fit into the roller assembly, not sit on top of it.IMG_0923

Poor design/cheap materials. If I were a competitor I would jump on this. Appliances should not break after 14 months.