The Dell Inspiron 530 I have hooked up to my CompuTrainer has been crashing a lot, very frustrating as you lose data. Tried upgrading the graphics card and maxing out memory, but that didn’t help. Upgrade path from Windows XP to Windows 7 seems questionable, so I decided to pull the trigger on a new PC that will pretty much only be used with the CompuTrainer (and maybe also to drive a TV for watching videos, if I can manage to do that without causing crashes). A Windows 7 Dell with a decent graphics card is something a little under $700, but Thanksgiving week I noticed some PC kit sales at newegg.com and tigerdirect.com, and decided to try rolling my own, figuring I could get a much better computer for the same, or even less, money. Ended up pulling the trigger with newegg.com, here is what I ended up with:
| Rosewill Challenger-U3 Black Gaming ATX Mid Tower | 39.99 |
| Corsair Builder Series CX600 | 29.99 |
| Intel Core i5-3570 Ivy Bridge 3.4GHz Quad-Core | 214.99 |
| ASRock Z77 Extreme3 LGA 1155 w/ G.SKILL Ripjaws X Series 8GB (2x4GB) RAM | 99.99 |
| EVGA GeForce GTX 650 Ti 2GB 128-bit w/ free copy of Assassin’s Creed 3 | 159.99 |
| Intel 330 Series 240GB SATA III SSD | 139.99 |
| ASUS DRW-24B1ST SATA 24X DVD Burner | 19.99 |
| Total | $704.93 |
I already have a copy of Windows 7 that I am not using, so not completely apples to apples with a Dell, but even if I had to buy the OS this is a lot more machine that I would get with a Dell box at the same price point.
So here are the bits.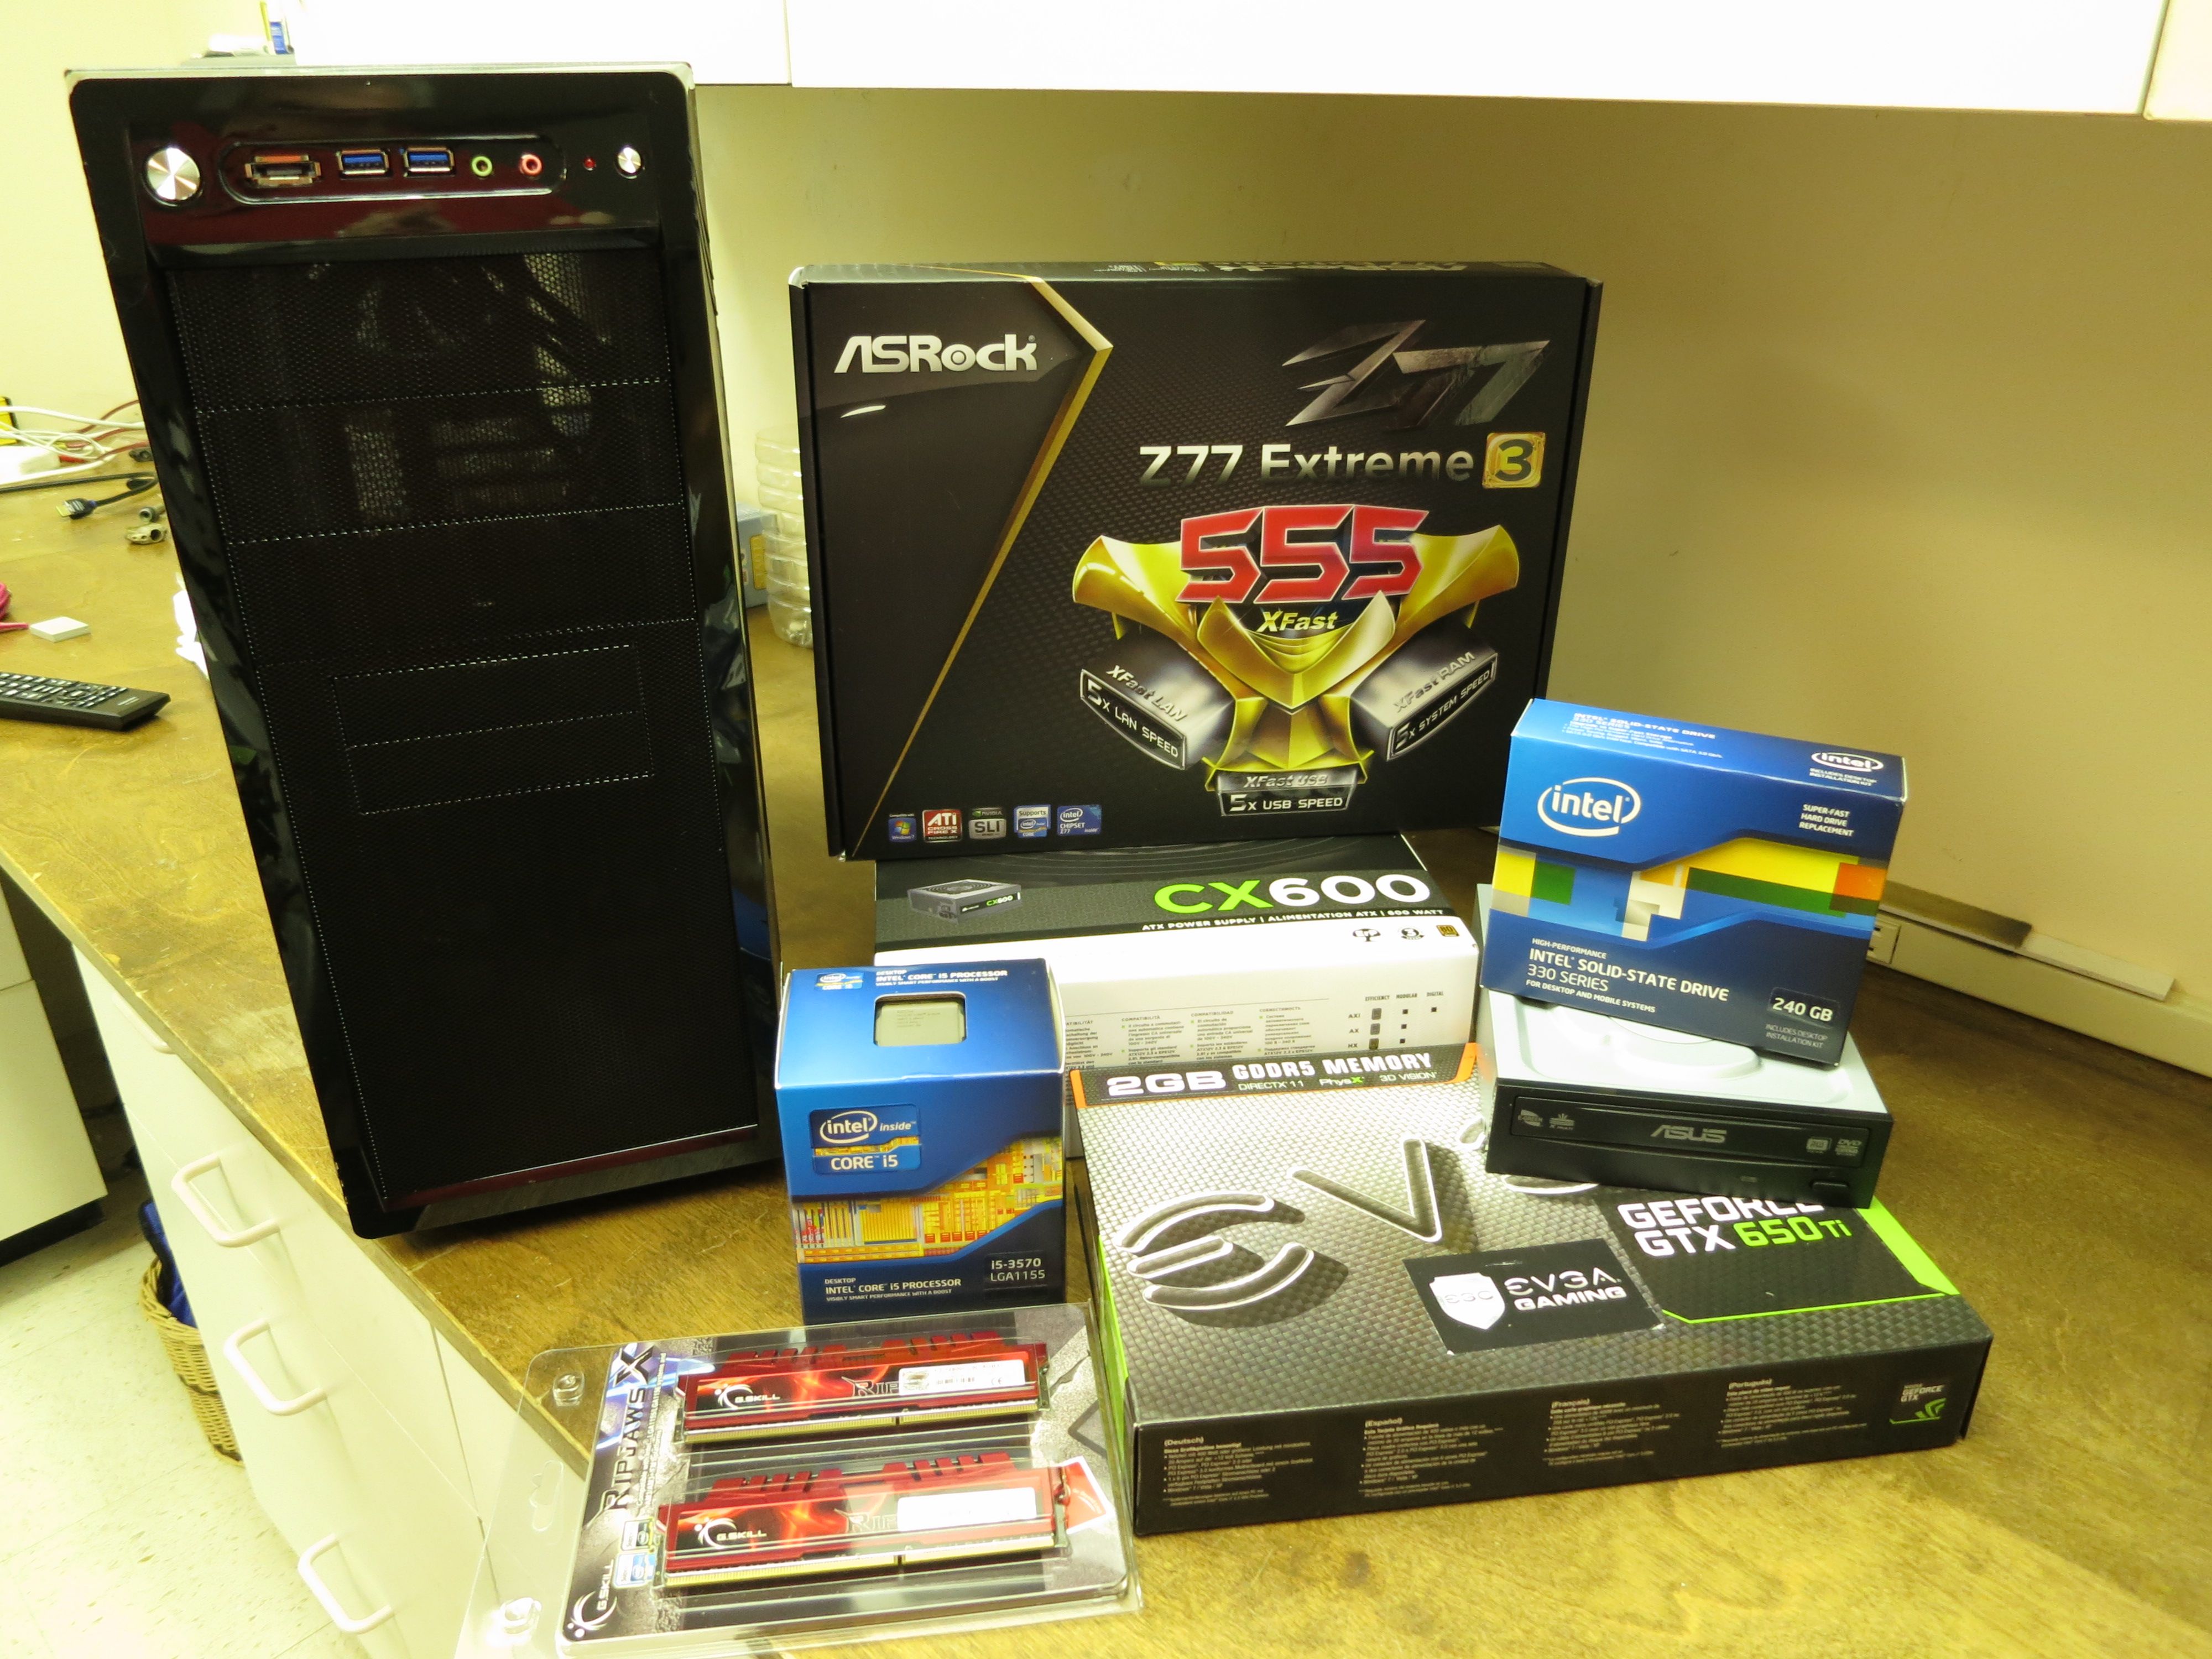
The case has 2x USB 3.0 and 1x eSATA ports on the front of the case.
Here is the inside of the case. This is a cheap case, no soundproofing, but lots of drive bays. That big blue wire goes to a USB 3.0 header, and the red wire goes to a SATA port. The case has three fans, one of them plugs into the motherboard, and the other two plug in to molex connectors from the power supply.
The power supply is 600 watts. One in my old computer was 300 watts, I didn’t do any calculations, just guessed that this would be more than enough. It is 80 Plus Bronze, which is some sort of an efficiency certification. It is not modular (modular ones have wires that plug in, so you only have cables for what you need), but those are a lot more expensive and my case has plenty of room to tuck things away.
The power supply rests on the case, and there is a tab that is off the picture that snugs it in place. That is a gasket around the hole in the back of the case. Depending on how you mount the power supply, it can draw air from the bottom of the case, or from the interior of the case. Pictures of the power supply all had the intake fan on the top, so that is where I put it.
The power supply is fastened to the case with four screws in the back.
Here is the mother board. Kind of an ugly color.
The case comes with some little brass colored posts for mounting the motherboard, and a little adapter for screwing them in.
CPU is made in Costa Rica!
Here is the fan that comes with the CPU, which I take it is fine if you are not doing stuff like over clocking.
The heat sink already has some thermal paste on it.
The CPU is keyed to the socket and it is pretty obvious how it goes in. To open the socket you push down on the lever and slide it out to the right. When I closed the lever there was a bit of an “oh shit” thunk, and I wondered if the CPU wasn’t seated quite right and I had damaged something. But everything looked OK, so I carried on.
I figured 8GB of memory would be enough. I get a lot more in my Macs (16GB in my Retina MacBook Pro, 20GB in my Mac Pro), but this computer is really only for running the Computrainer software.
Memory mounted, one in bank A, the other in bank B.
The motherboard comes with a little cover for the rear connections, it snaps in from the inside of the case.
Motherboard mounted into the case. Don’t torque the screws too much, I think I over-torqued one of them, causing the post to start to strip the threads in the case, which I am thinking are pretty soft.
To mount the optical disk drive you have to take the front cover of the case off, pull hard from the bottom and it will pop off. Then you remove the drive bay covers as needed, I took the one right below the ports out.
Looking into the case from the front, lots (4) of 5.25 inch bays, not sure why you would need so many of these. If I was using the computer for other stuff I might have put a card reader in one of the (front facing) 3.5 inch bays.
Here is the optical disk drive in place. The plastic retaining pieces have pins that go in the screw holes in the drive to hold it in place.
The SSD drive came with its own 3.5 inch bay sled, made out of metal, so I used that instead of the plastic adapter that came with the case (figured better cooling, metal a better heat conductor).
In addition to the SSD, I stuck an old 200GB 2.5 inch drive and a 1TB Western Digital into the case.
The rear fan has a three pin connector that goes to one of the connectors on the motherboard.
GPU is an EVGA GeForce 650 Ti, card is not very long and fits easily in the case. The power supply has two PCI-e power connectors, but this card only needs one of them.
So here is everything put together and hooked up. I organized the wires a little more neatly after I took this picture. The other side of the case comes off and there is room to route wires there, which I did where possible to reduce clutter. The case comes with some zip ties you can use to tie wires down. The front panel has small connectors for the power and reset switches that go to the motherboard, and also a LED activity light you can use for a HD or for power. There is also a small speaker that gets plugged into a header, and an HD Audio connector that goes to the front panel connections for headphones/speakers and a microphone.
By comparison, here is the old Dell Inspiron 530 that this computer is replacing. Smaller case, only holds two 3.5 inch drives, and getting at them is a little more difficult.
So once everything was together I plugged it in and tried starting it up without anything connected (no hard drives). No startup beep, so I wondered if I was going to be troubleshooting. But after connecting a monitor, keyboard, and mouse I had no problem entering the UEFI BIOS, and then I plugged in the SSD and had a smooth Windows 7 install. I downloaded latest drivers for the motherboard and the GPU and installed those. Things were a little wonky with the USB 3.0 drivers, when I installed them the USB 3.0 stopped working, but a reinstall back at the device manager for one item with a warning triangle/exclamation point brought the USB 3.0 back to life. The system appears to be stable and working well now. Hopefully my RacerMate One crashes are a thing of the past now!