First time out for dinner in NYC in a long time! Ko menu has changed quite a bit, not sure what the signature dishes are now. Rolled egg? Cod was good. Mackerel probably least favorite.
Vespa Elettrica Hub Oil Change DIY
Didn’t want to take scooter to dealer and wait around to just do the initial 600mi/1000km hub oil change, so did it myself. I managed to find an Electric service manual on the Internet, I got is here. Gotta say the Vespa documentation is not very good. To change the hub oil they suggest removing the rear wheel, nut size (24mm) is not anywhere in the manual, nor is the volume of oil required (I put in about 275ml).
To get the rear wheel off pop off the cap, and remove the cotter pin and the cover that is over the nut. To get the nut off you need to hold the wheel, I started off jamming something through the spokes, but the nut was on VERY tightly and it was not so easy to hold the wheel like this. I don’t have an air impact wrench, but I do have a Makita impact tool, so I used that while holding the rear brake lever tightly, that worked, the nut eventually came off. The rear wheel has the “drum” of the brake built in to it, so there is some brake dust.

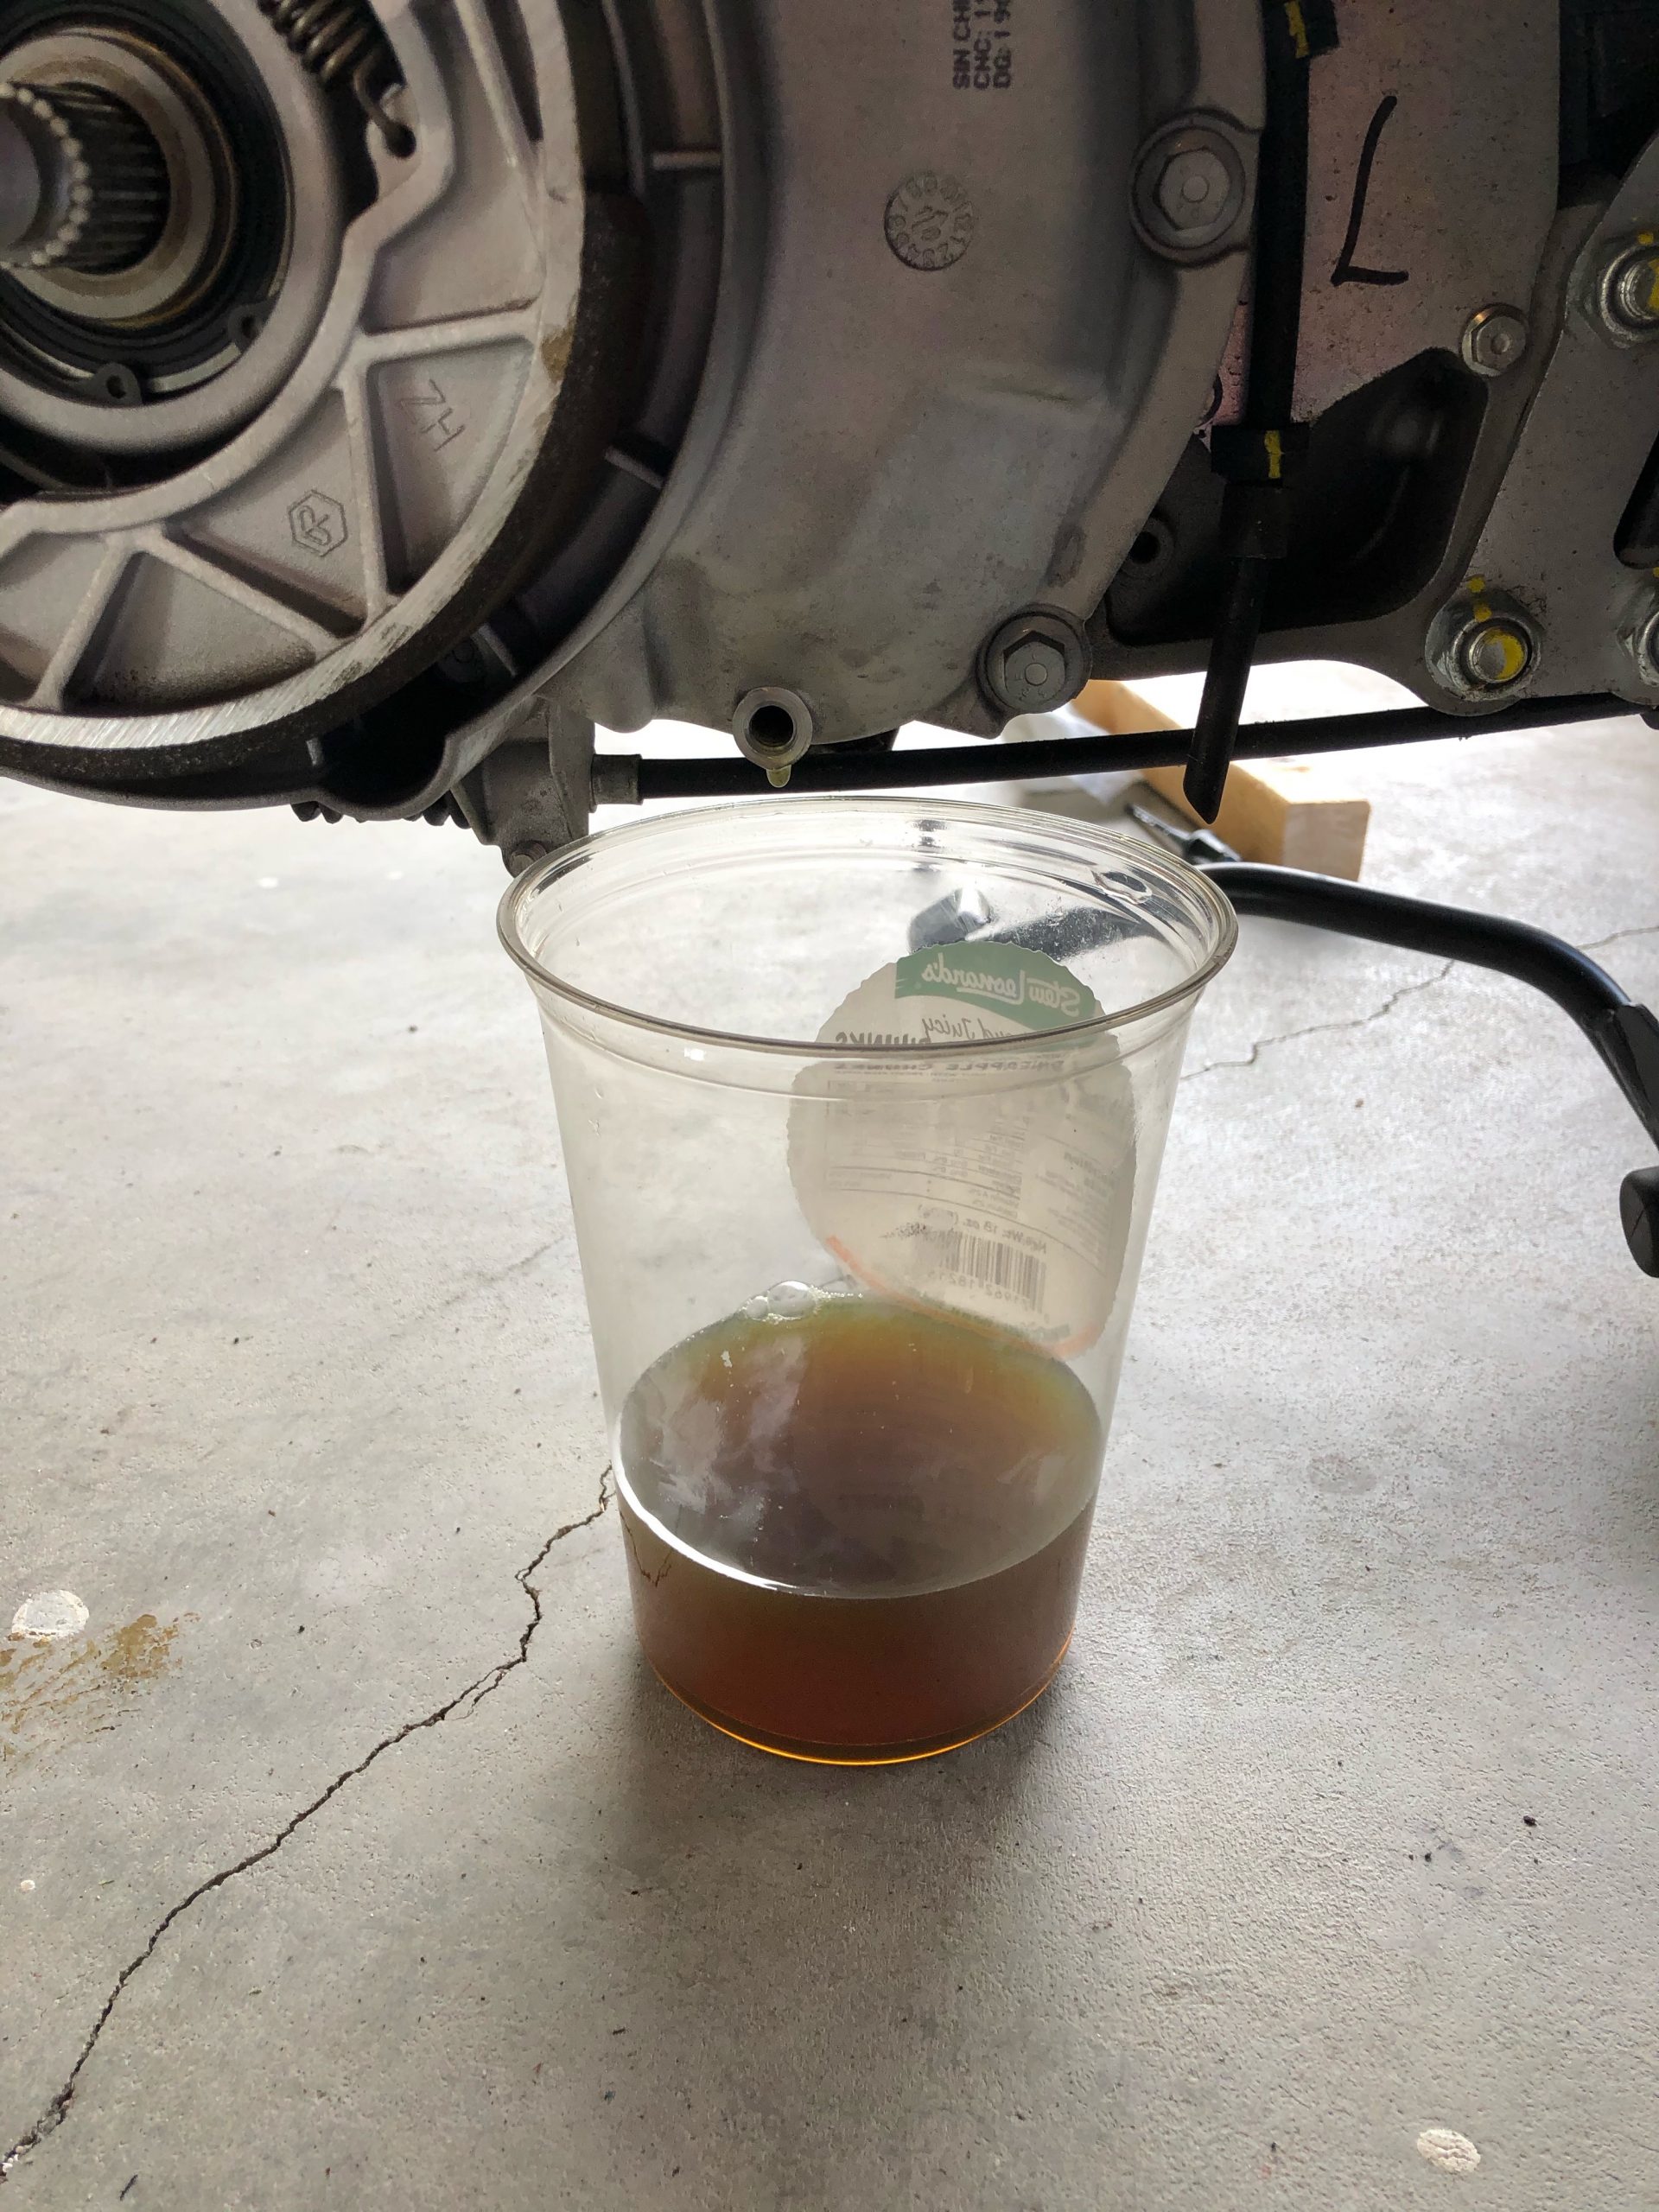
The service manual calls for 80W-90 GL-4 for the hub oil, and recommends Castol products. I ordered some 80W-90 Castrol gear oil, but it was GL-5. Probably would have been fine, but since the Castrol jug did not say it was OK for GL-4 I used a jug of Valvoline that did say it was OK for applications calling for GL-4 (and GL-5).


The oil drain bolt did have a crush washer on it, I normally prefer not to reuse crush washers, but none of the Vespa documentation mentions the crush washer, never mind provide a part number that would probably not be available anyway …

Per above, the hub took about 275mm of oil to bring it up to the first mark on the dipstick.
Mac Mice & Keyboards
In the past have always used Apple mice and keyboards with our Macs. Recently built a new home desktop hackintosh and a flakey old Mighty Mouse led me to look at other options. OMG I wish I had done this earlier. Replaced an old Apple wired keyboard with a Das Keyboard 4 Professional and it is very nice to type on. But I actually think I am going to take it to work, where lighting is brighter and more constant, and have ordered a Logitech MX Keys, which seems to be among the best of the backlit options, which is something I often wish I had when ducking in to the home office to look something up quickly without bothering to turn the lights on. I replaced my Apple Mighty Mouse with a Logitech MX Master 2S, and it is better in so many ways:
- Ergonomics, it is comfortable
- Good sensor that even works on glass, which is what my desk surface is, so no more mouse pads or pieces of paper
- Better Bluetooth connection, my Mighty Mouse was at -57db, the Logitech is reading -46db, so it must have a MUCH better antenna
I have ordered a Logitech MX Master 3, which is supposed to be a little better for left to right scrolling with the thumb. The 2S will go to my office when the 3 comes in.
Momofuku Ko 7
Kerio Connect Backups – Monitoring Size
At work we are using Kerio Connect running on a Mac Mini/OSX for our email. Every month I archive all mail to a MySQL database using MailSteward Pro, but I also use Kerio Connect’s built in backup capability to do incremental and once-weekly full backups. The backups can take up quite a bit of hard disk space, and it is not dead simple to check on space being consumed:
Open a Terminal window.
Enable SuperUser user by typing sudo su – root and entering your password.
Navigate to usr/local/kerio/mailserver/store/backup. I am not a Unix whiz, I use these commands to get around:
pwd to show the working directory
cd .. to move up a level
cd <directory name> to move into a directory
ls to show what is in a directory
ls -l to get more details about what is in a directory
du -hs to show the size of a current directory
Software I Like
There once was a day when I was reluctant to pay for software applications. Not any more, there are some good ones out there that I use and value:
1Password
PDFpenPro
PDF Shrink
DevonTHINK Pro Office
Fujitsu fi-7160 on Mac OSX
I have been happily using a Fujitsu ScanSnap S1500M and also a iX500 with ScanSnap Manager and DEVONthink Pro Office on Mac OSX, as I try to de-paper home and office. I recently bought a fi-7160, thinking it would be nice to go from 25 ppm to 60 ppm (premium for the 80 ppm of the fi-7180 was still a little high).
Issue is that Fujitsu does not have OSX drivers for the fi series of scanners. fScanX and VueScan support the fi scanners in OSX, but functionality of these is limited compared to what you get with (the OSX version of) ScanSnap Manager. So I decided to set up document capture for the fi-7160 with the Fujitsu software in a Windows 7 VM in Parallels.
First trick is that you need to copy the contents of the install disc to the local drive in the VM, otherwise you get path errors that prevent the installers from running.
Second, the install takes a lot of room, so you may need to quit the VM, go to Configure, and increase the size of the VM hard drive.
Turning Off 2-Sided Printing in OSX
I think a lot of people struggle with turning off 2-sided printing for network printers. I know I used to struggle with it. Doing this is not hard at all but requires nerd level knowledge (of CUPS, which is what OSX uses for printing) or a simple DIY. Here is the simple DIY:
Launch the Terminal application and type in the following:
cupsctl Webinterface=yes
In Safari enter 127.0.0.1:631 into the browser bar
Go to Administration, Manage Printers, pick the printer, under the Administration drop down pick Set Default Options
Go to General, set 2-Sided Printing to Off, and then click on the Set Default Options button
Momofuku Ko 6
Momofuku Ko 5th Visit
Still fun, worth an annual visit.